Project Doghouse
I built a home office in a shed. Here are my notes and photos. It is unfortunately incomplete - I was always working in the shed while also building it and that transitioned into ‘mostly working and occasionally tinkering’ which doesn’t document that well.
Sadly I left it behind shortly afterwards when we moved house and there wasn’t a viable way of bringing it with us.
Stage 1
The original site looked like this:
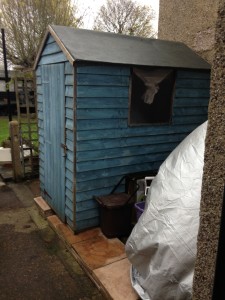
A six foot by four foot potting shed, in a six food by eight foot space.
First step was demolition…
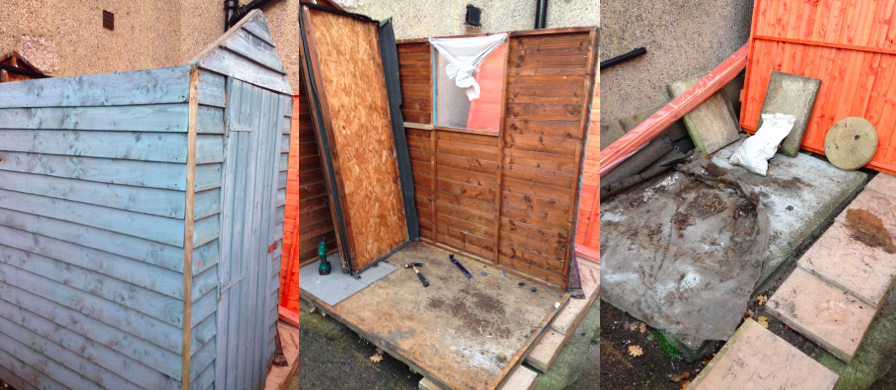
I’d bought a new, basic, shed, online, and was so incredibly unimpressed with the customer service that I couldn’t recommend them less. Really, you’d be better building from scratch. However, it’s a fairly simple setup:
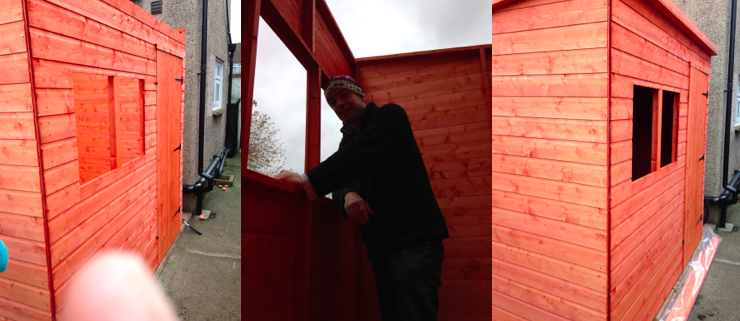
Once the shell was up, I wanted to get a working space up so I could get the hang of the space - work out what was needed in terms of desk space, power outlets, bin’s, and decorations. I’m glad I did, my original intentions for the inside were way off the things that I ended up with.
The end of the first iteration looked like this:
I was impressed with how functional the space was, particularly compared to the other places I’d been working since I moved in with my partner. I started generating (with the aid of a small space heater) much better work as soon as I moved into the shed.
Stage 2
There was lots left to do: install proper light (using a battery powered lamp is suboptimal), sort out power properly, and deal with the massive heat leakage (the heater had to be on constantly to stay at comfortable temperature - although this was early December).
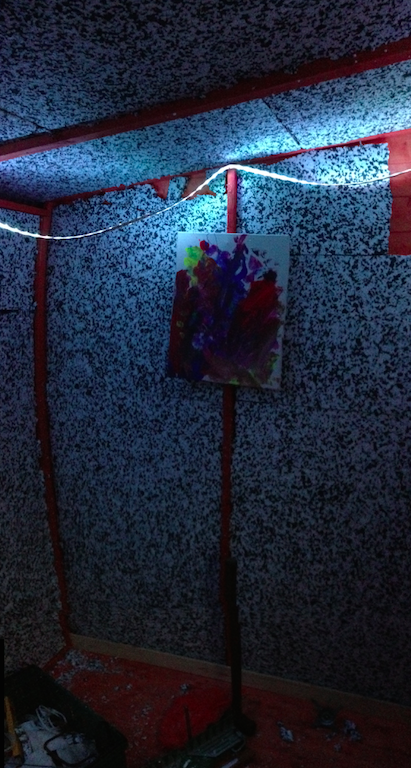
Lights first
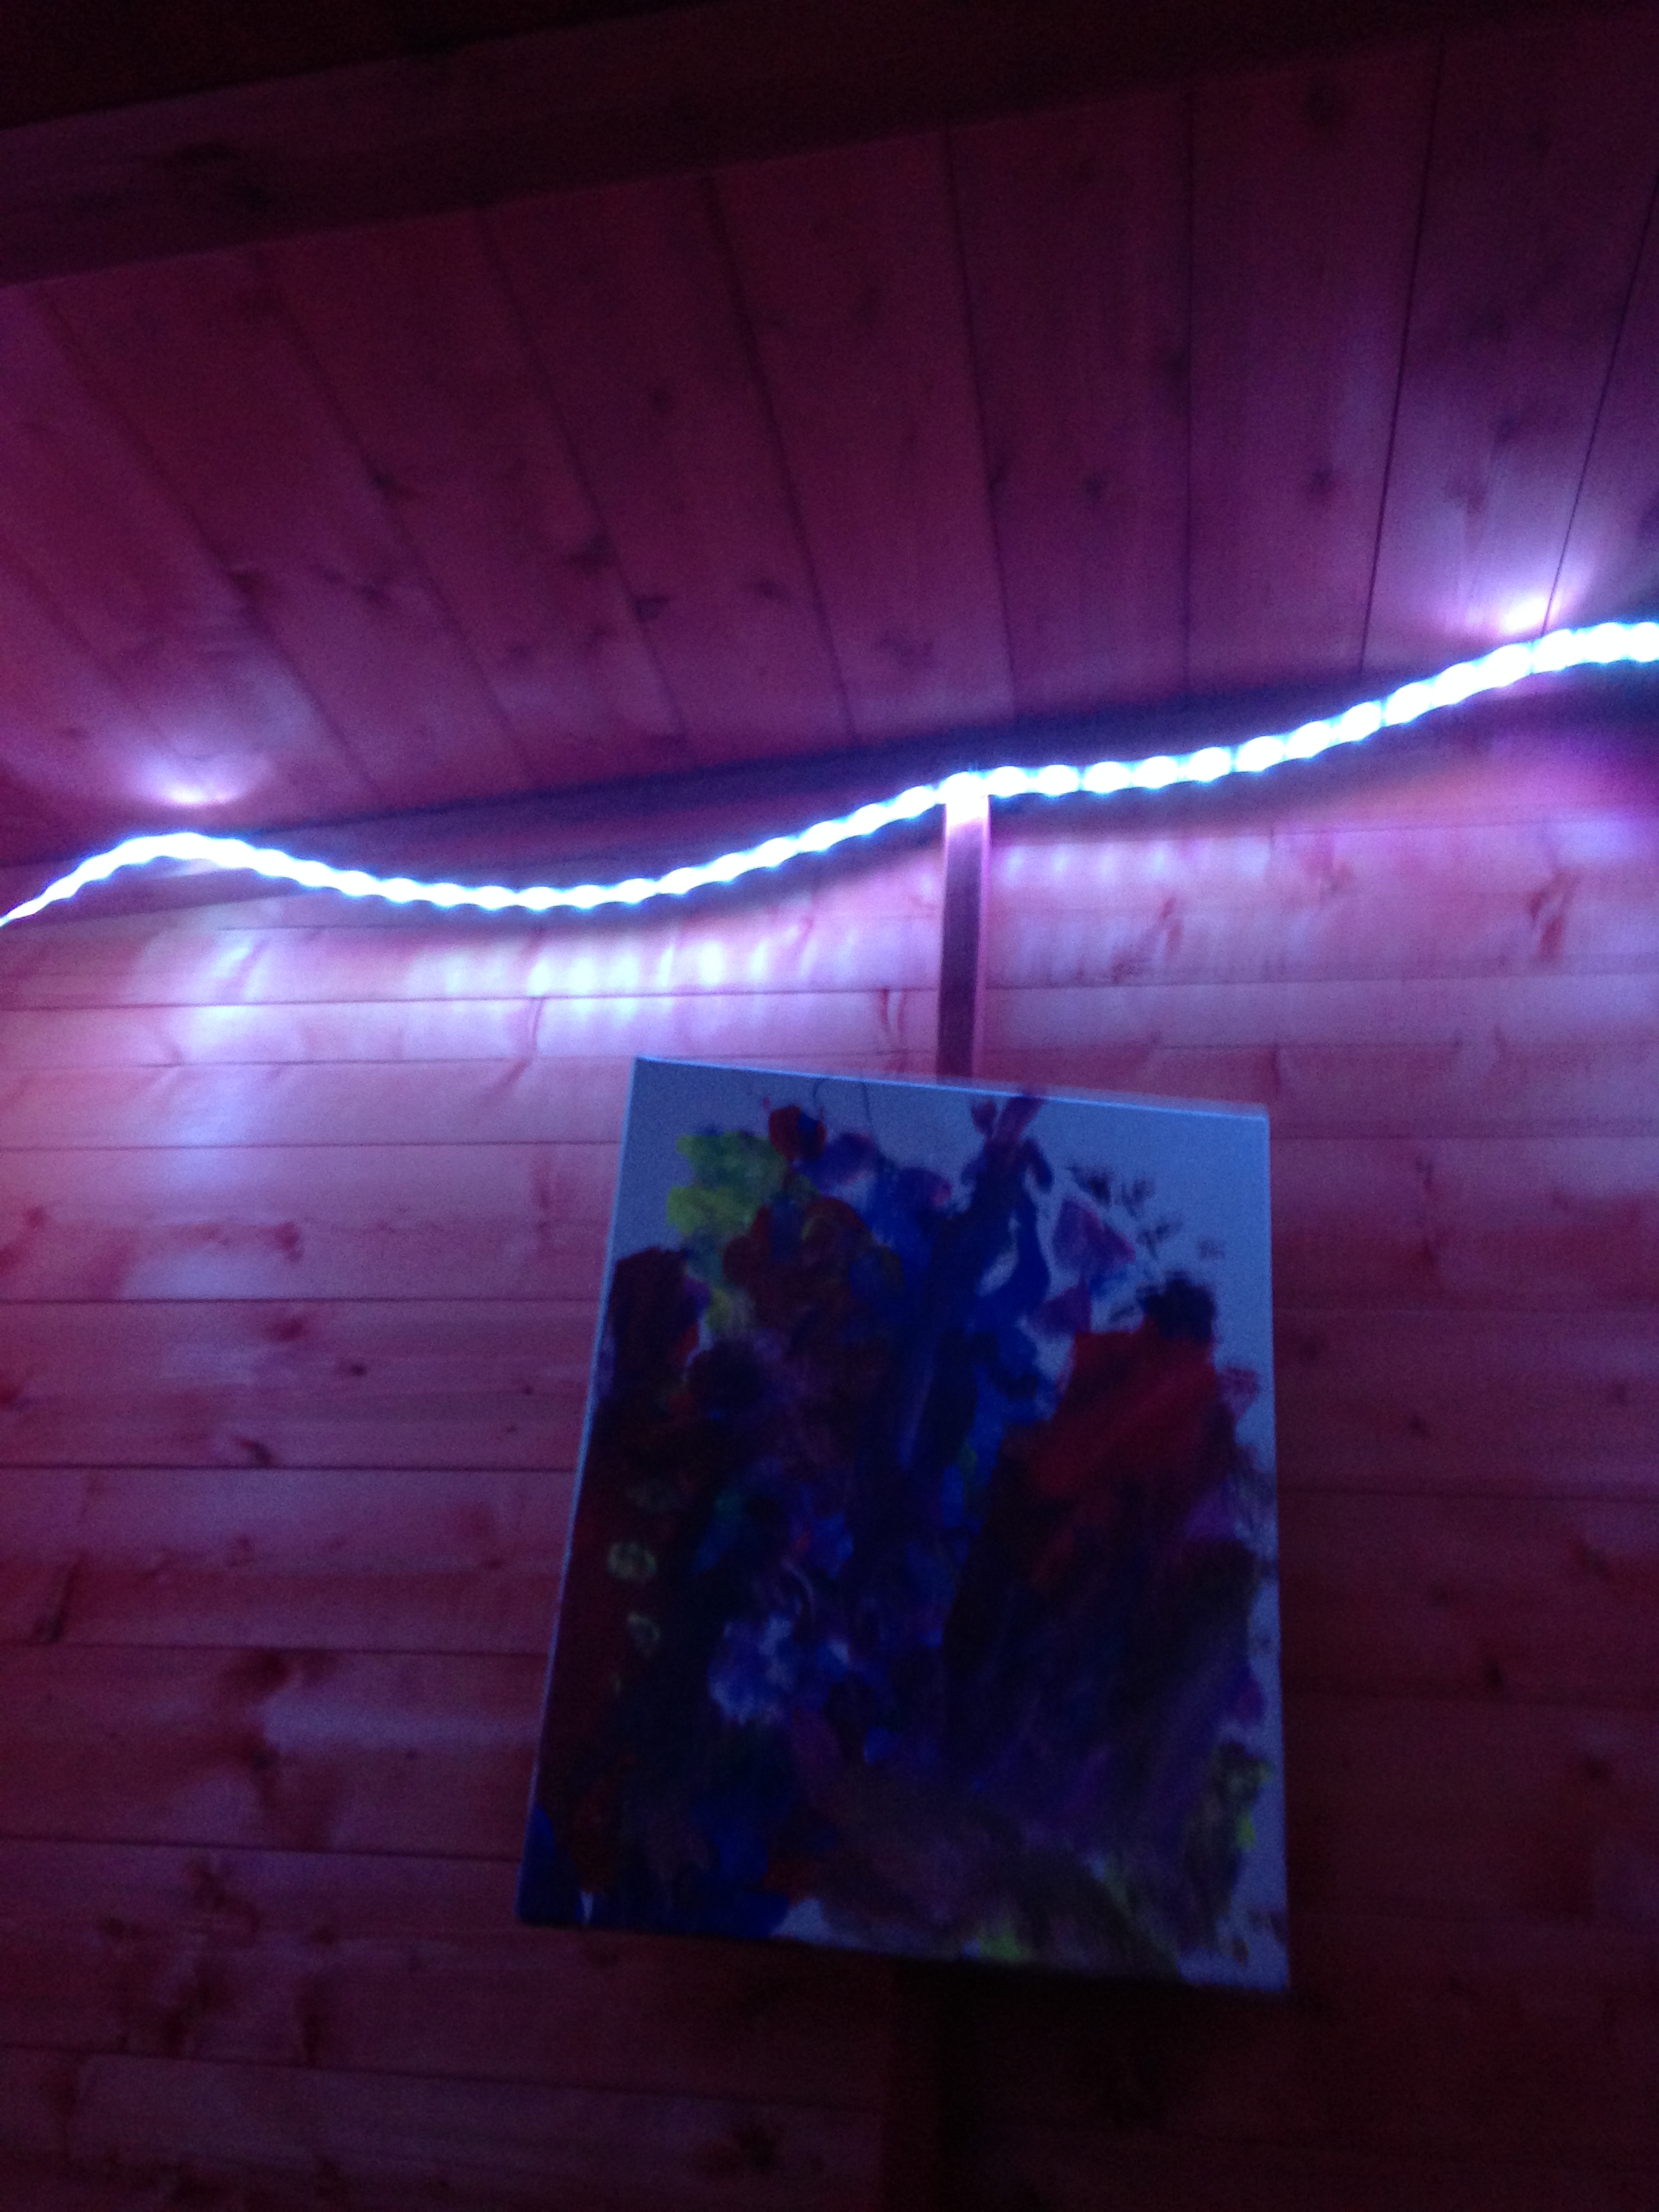
I went with this long LED strip. It supports full RGB tweaking so I can do things like make the light less blue when working at night. (I occasionally just play with the lighting to make it look cool). For the time being I draped the strip around the inside wall while I sorted out the interior cladding. I was impressed by how much light they provided in the small space, but a second set was eventually needed for really workable amounts of light.
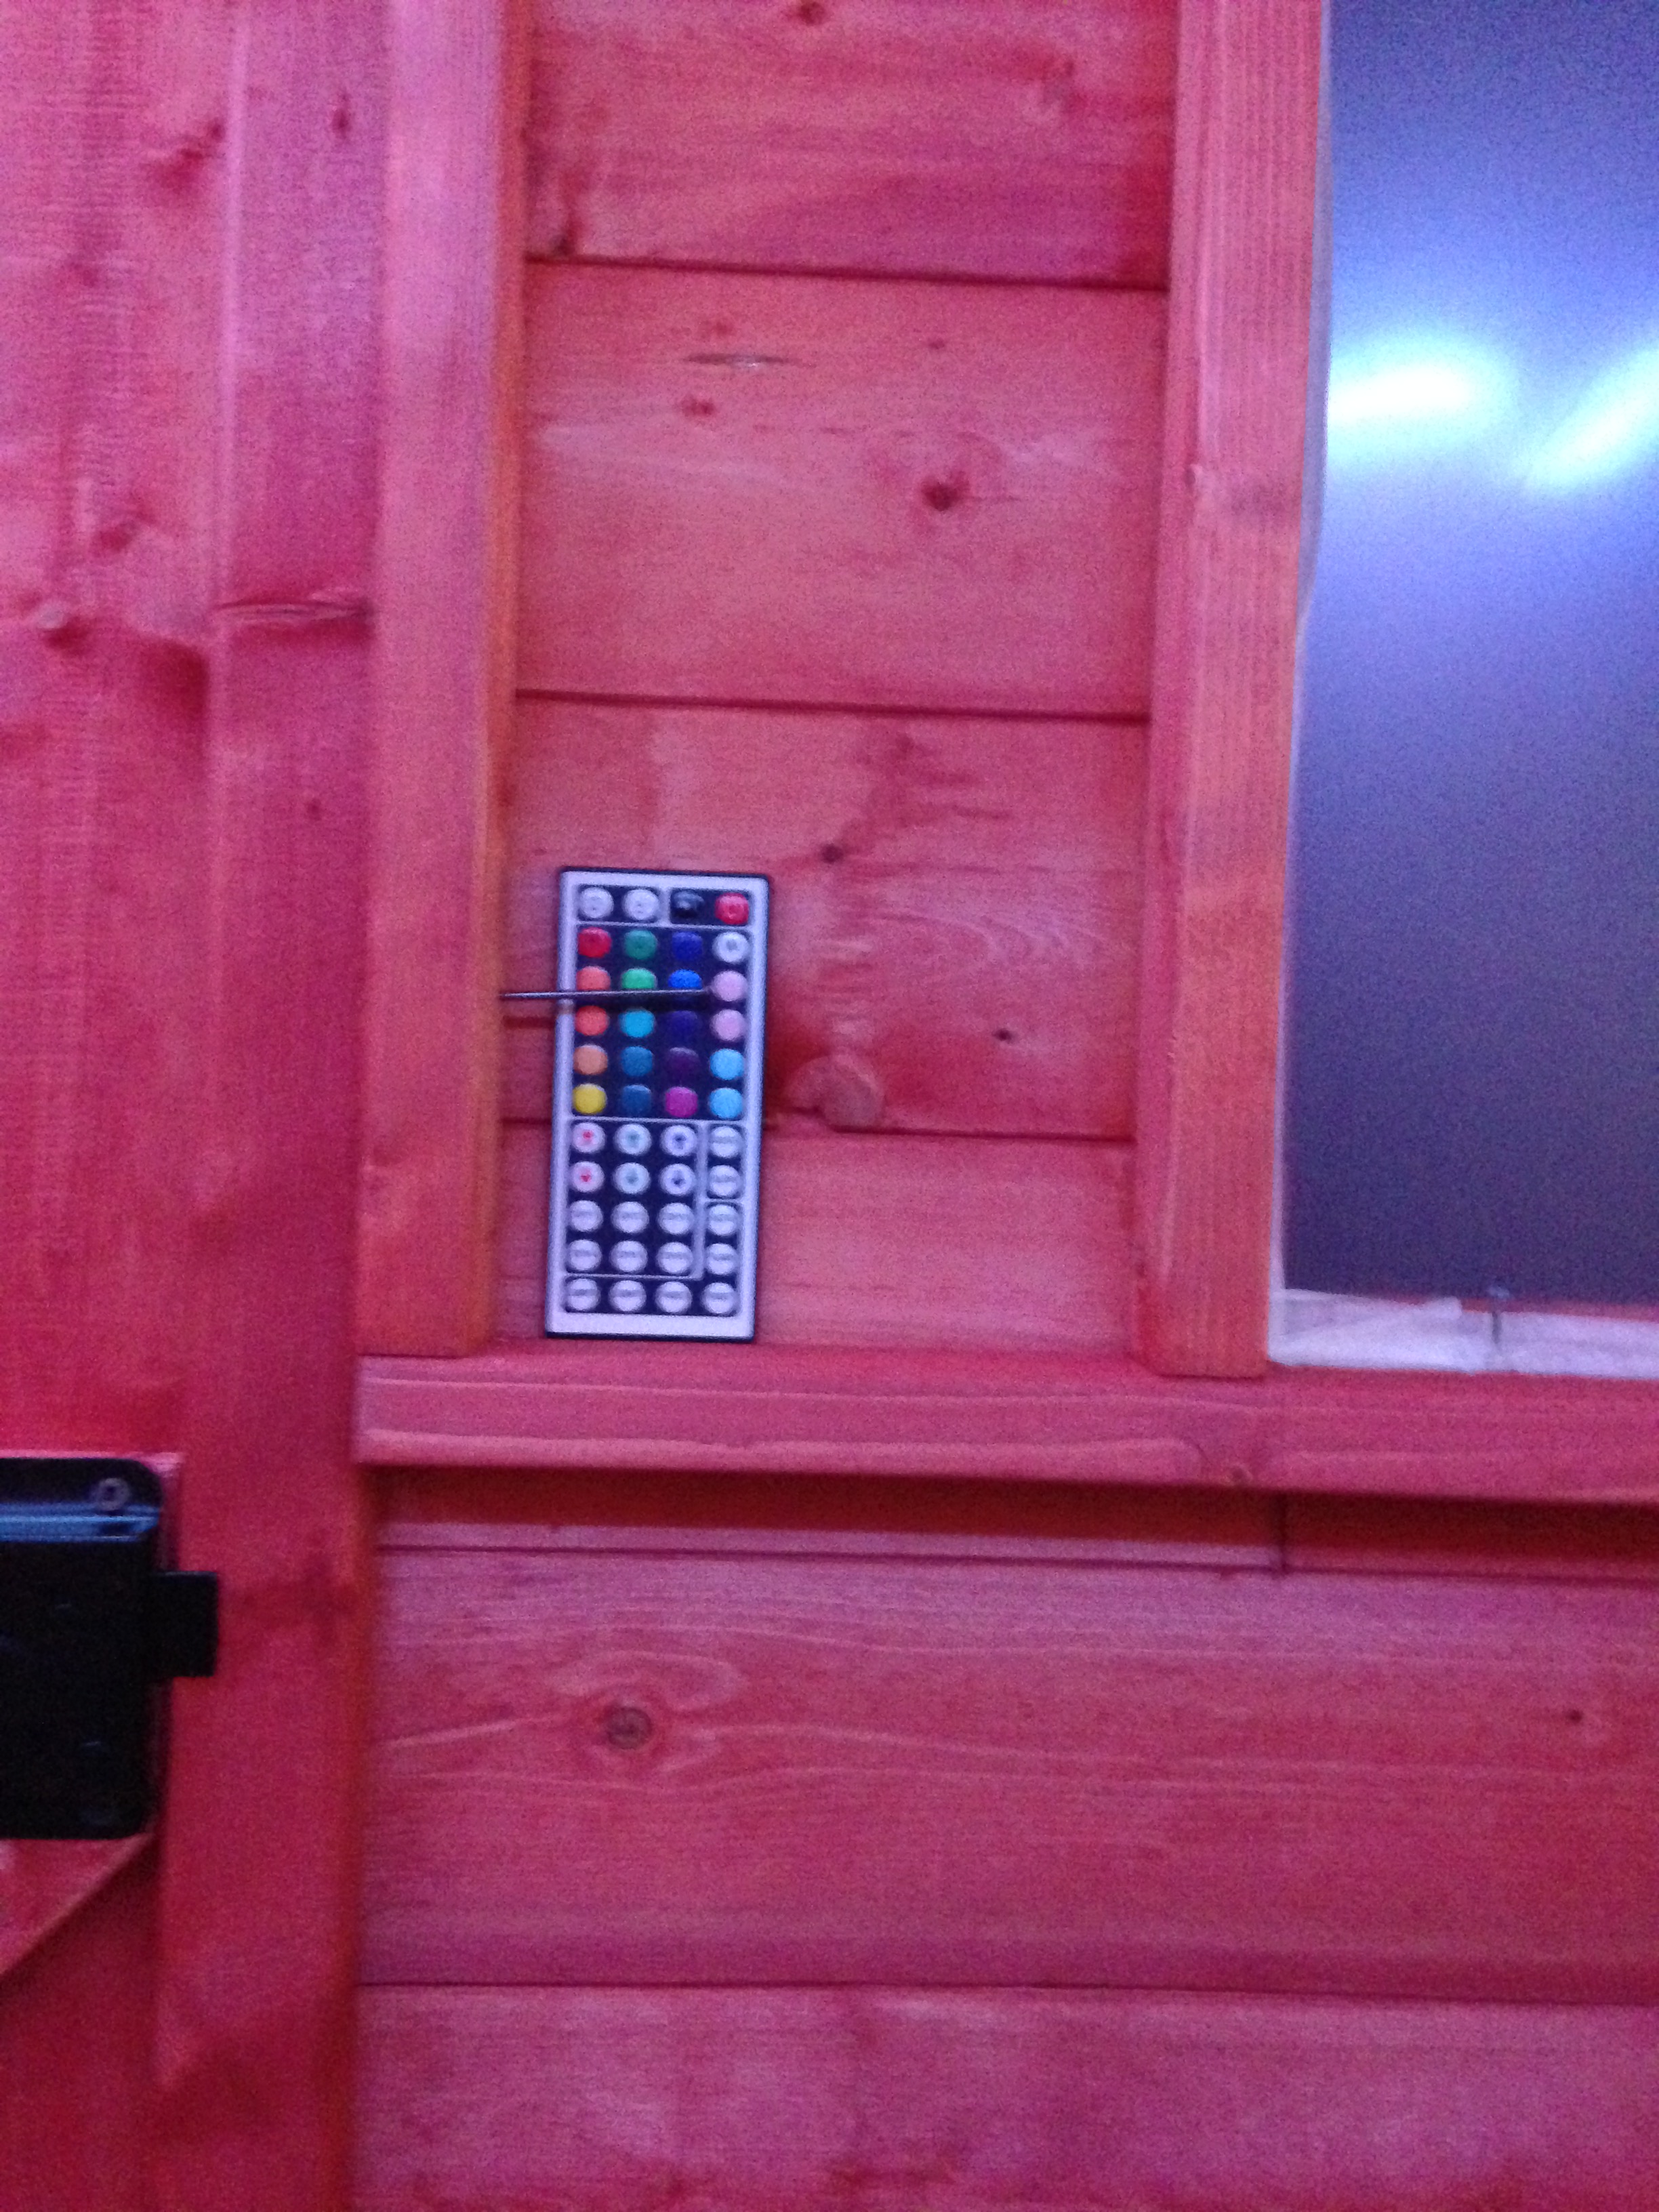
Very improvised lighting control…
The lighting was a fairly small part of this stage.
Mostly this stage was about heat: the structure was weeping heat everywhere. The first stage was to finish building it so I finally felted the roof.
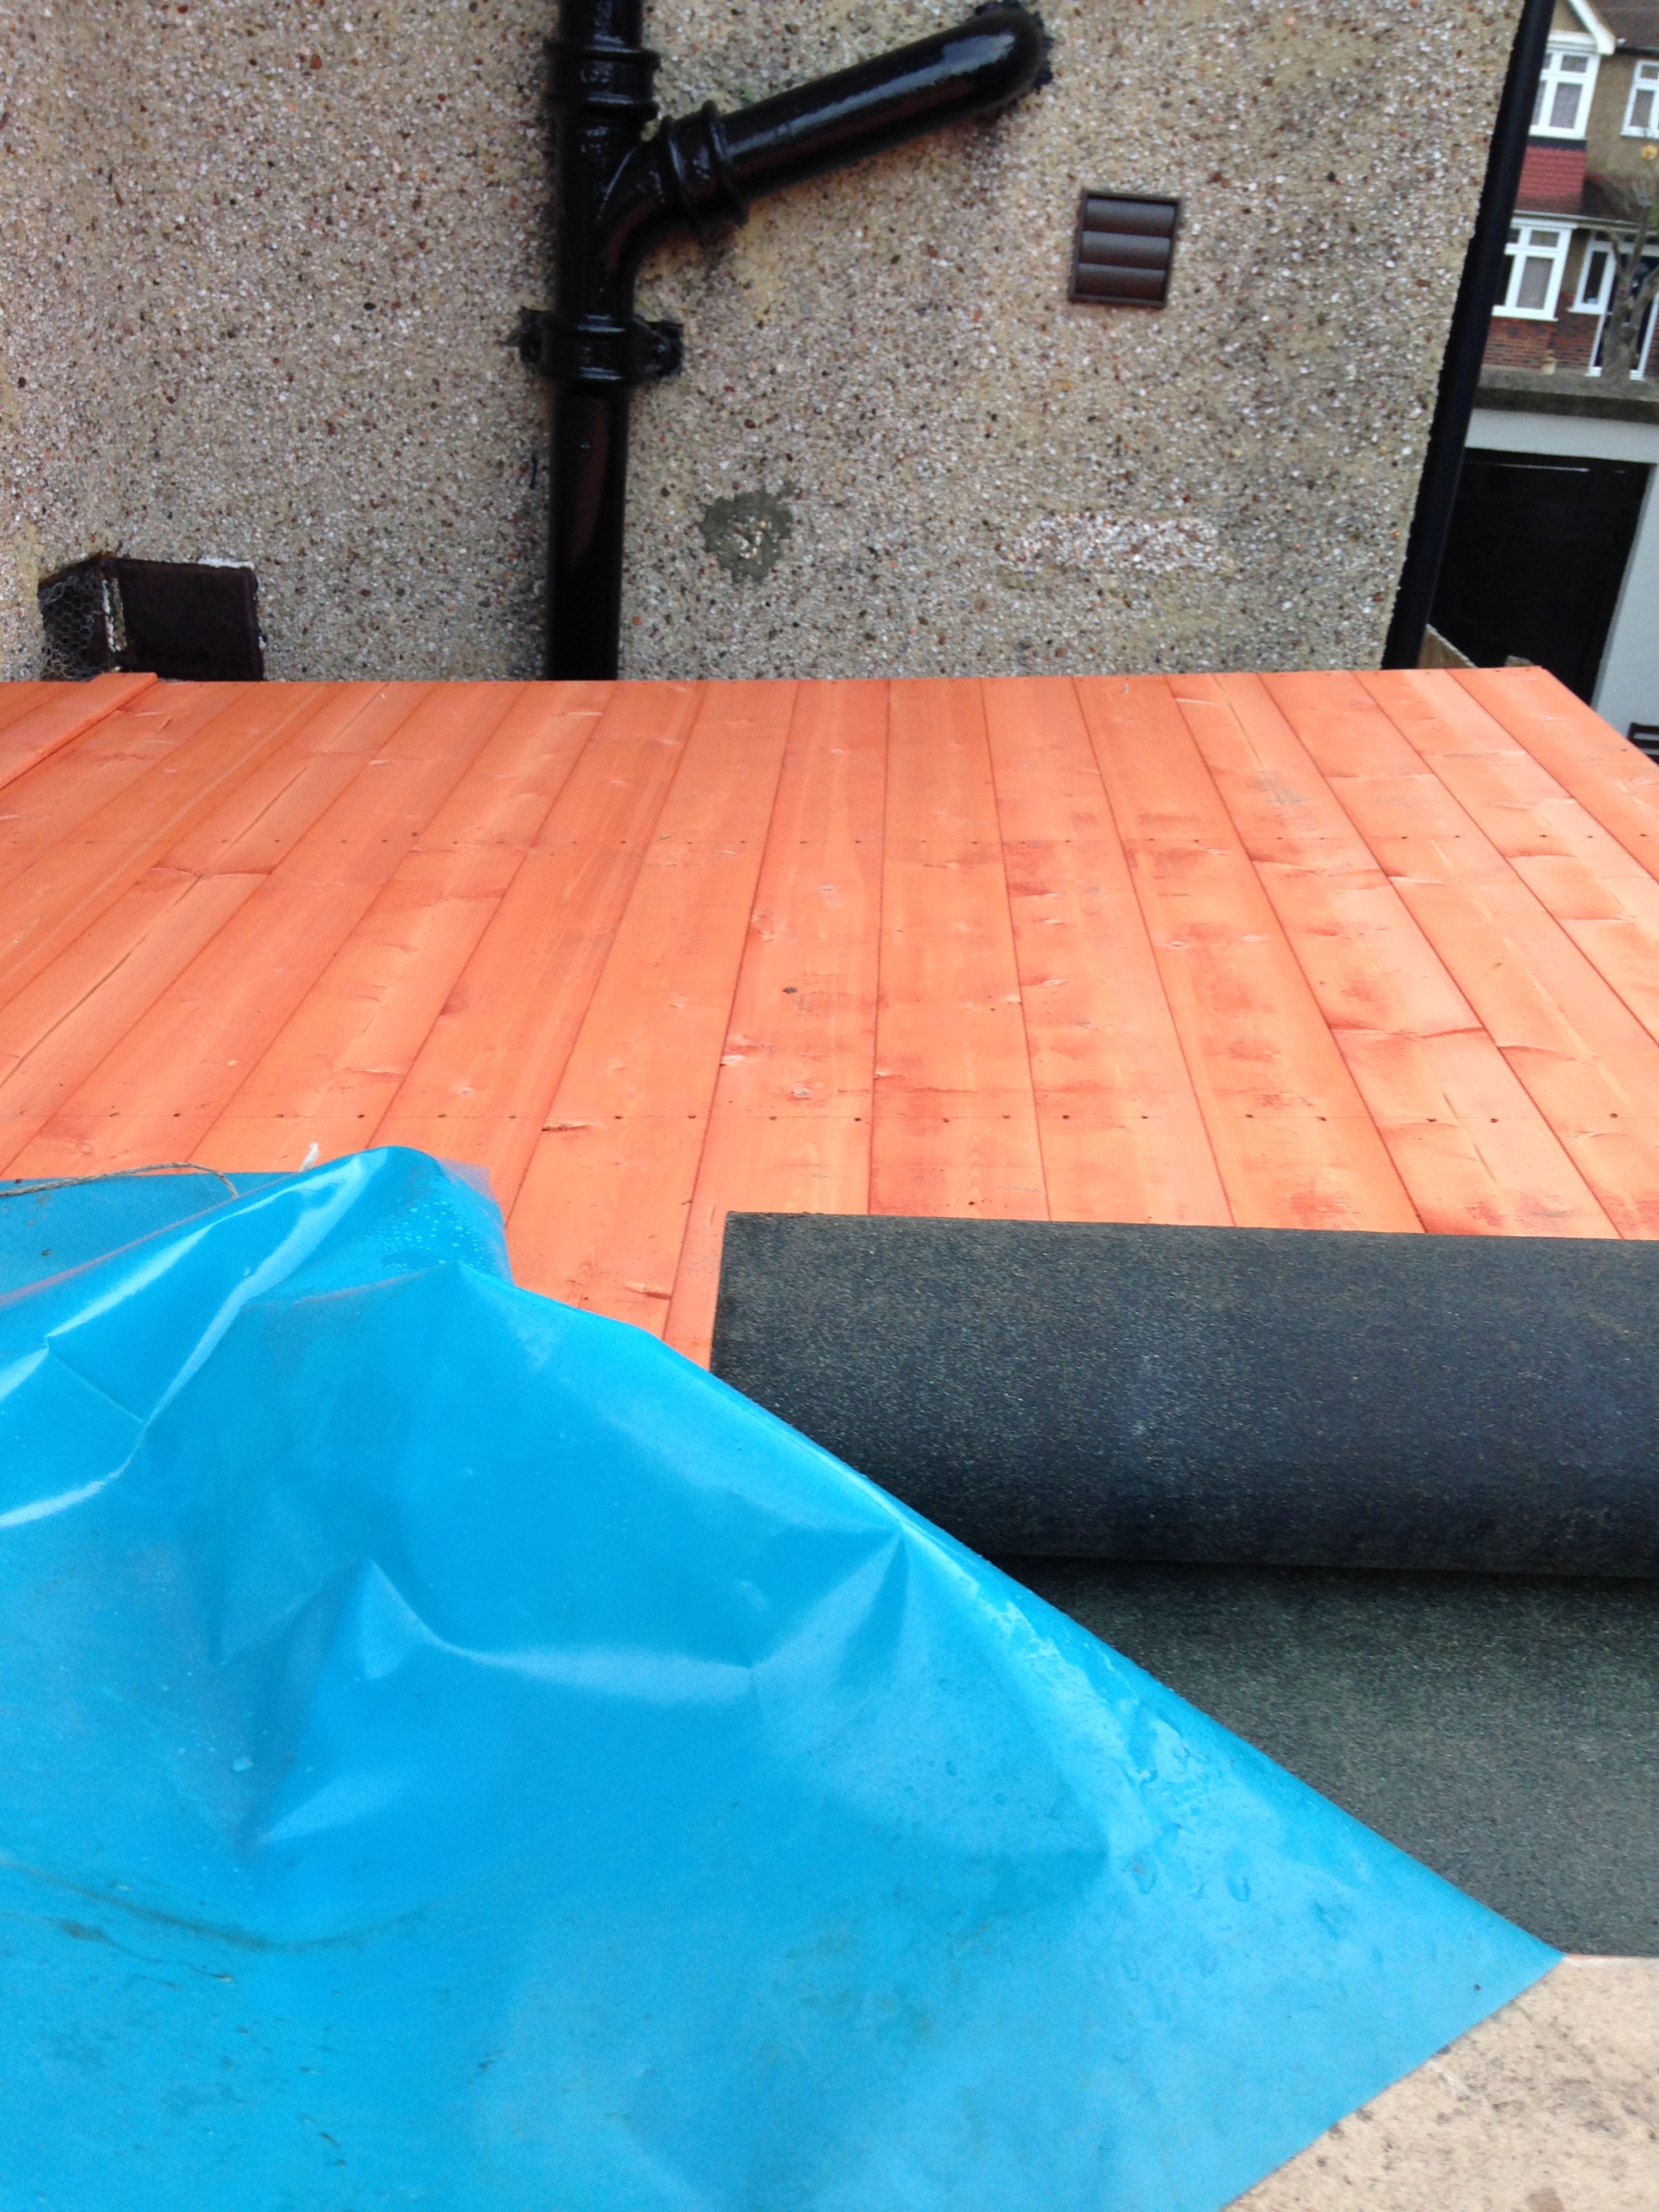
One more layer between me and the rain wasn’t enough, it was time to properly insulate.
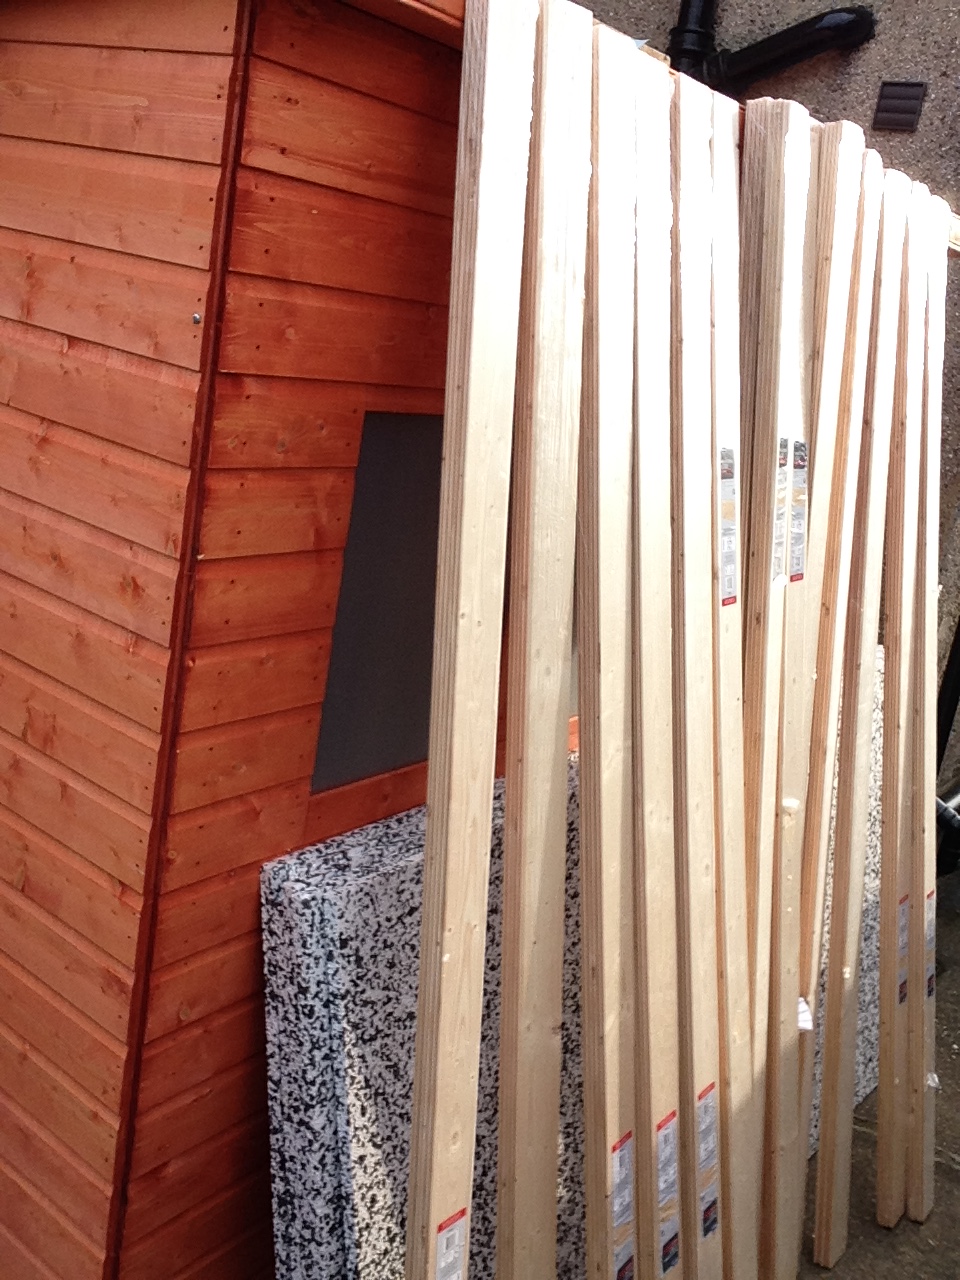
First thing I learned was that polystyrene gets everywhere . Not only was I carrying out bags of the stuff, I broke the hoover (which my girlfriend fixed for me) cleaning up after myself. Those little balls stick to everything. I’m still cleaning those of my clothes.
However, once they started to line the walls, there was an immediate change in how well the building kept the heat.
I was now only running the heater intermittently, and mostly when I opened the door (which remained the weak link in my insulation).
A few packets of tongue-and-groove cladding later, the doghouse even started to look like an office.
This is how the stage finished:
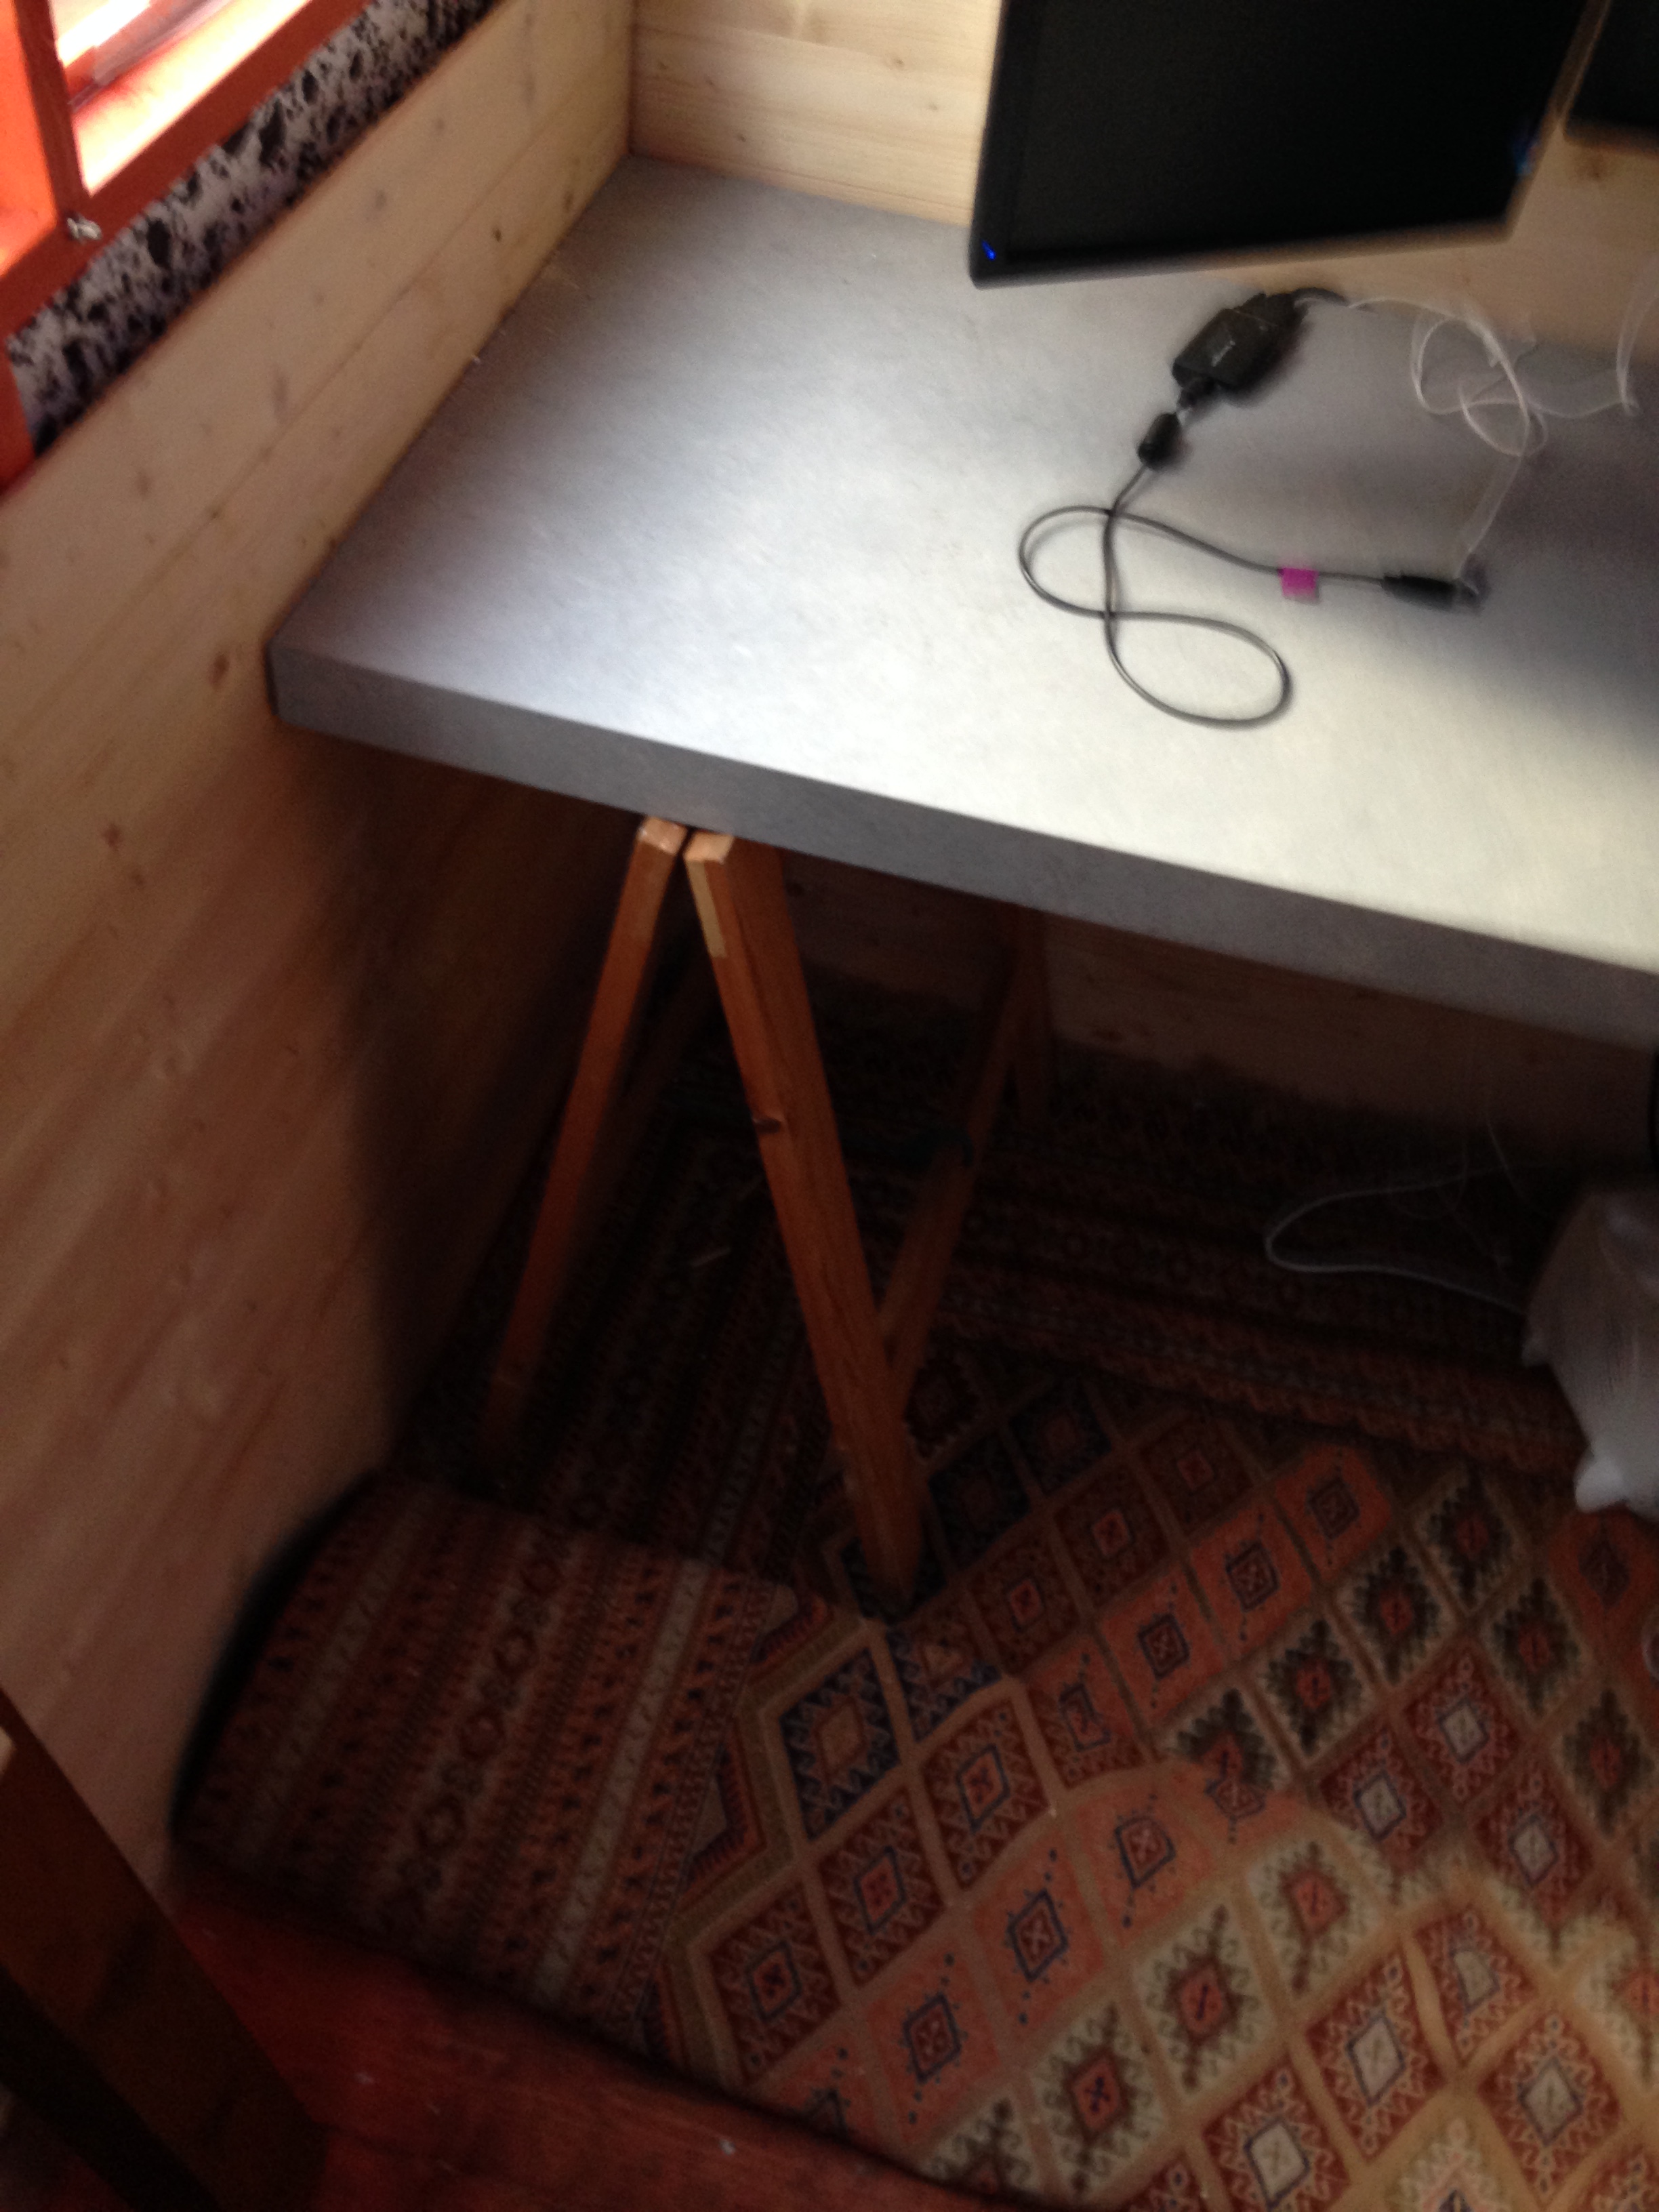
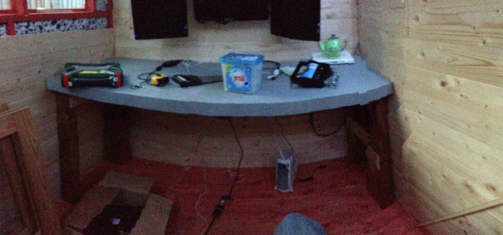
The insulation and tongue and groove was mostly in. The cheap desk had been replaced with a countertop that I cut to size after scavenging it from my girlfriend’s kitchen redo (You can see it’s resting on hurdles that I rescued from a man about to throw them in the dump).
Stage 3
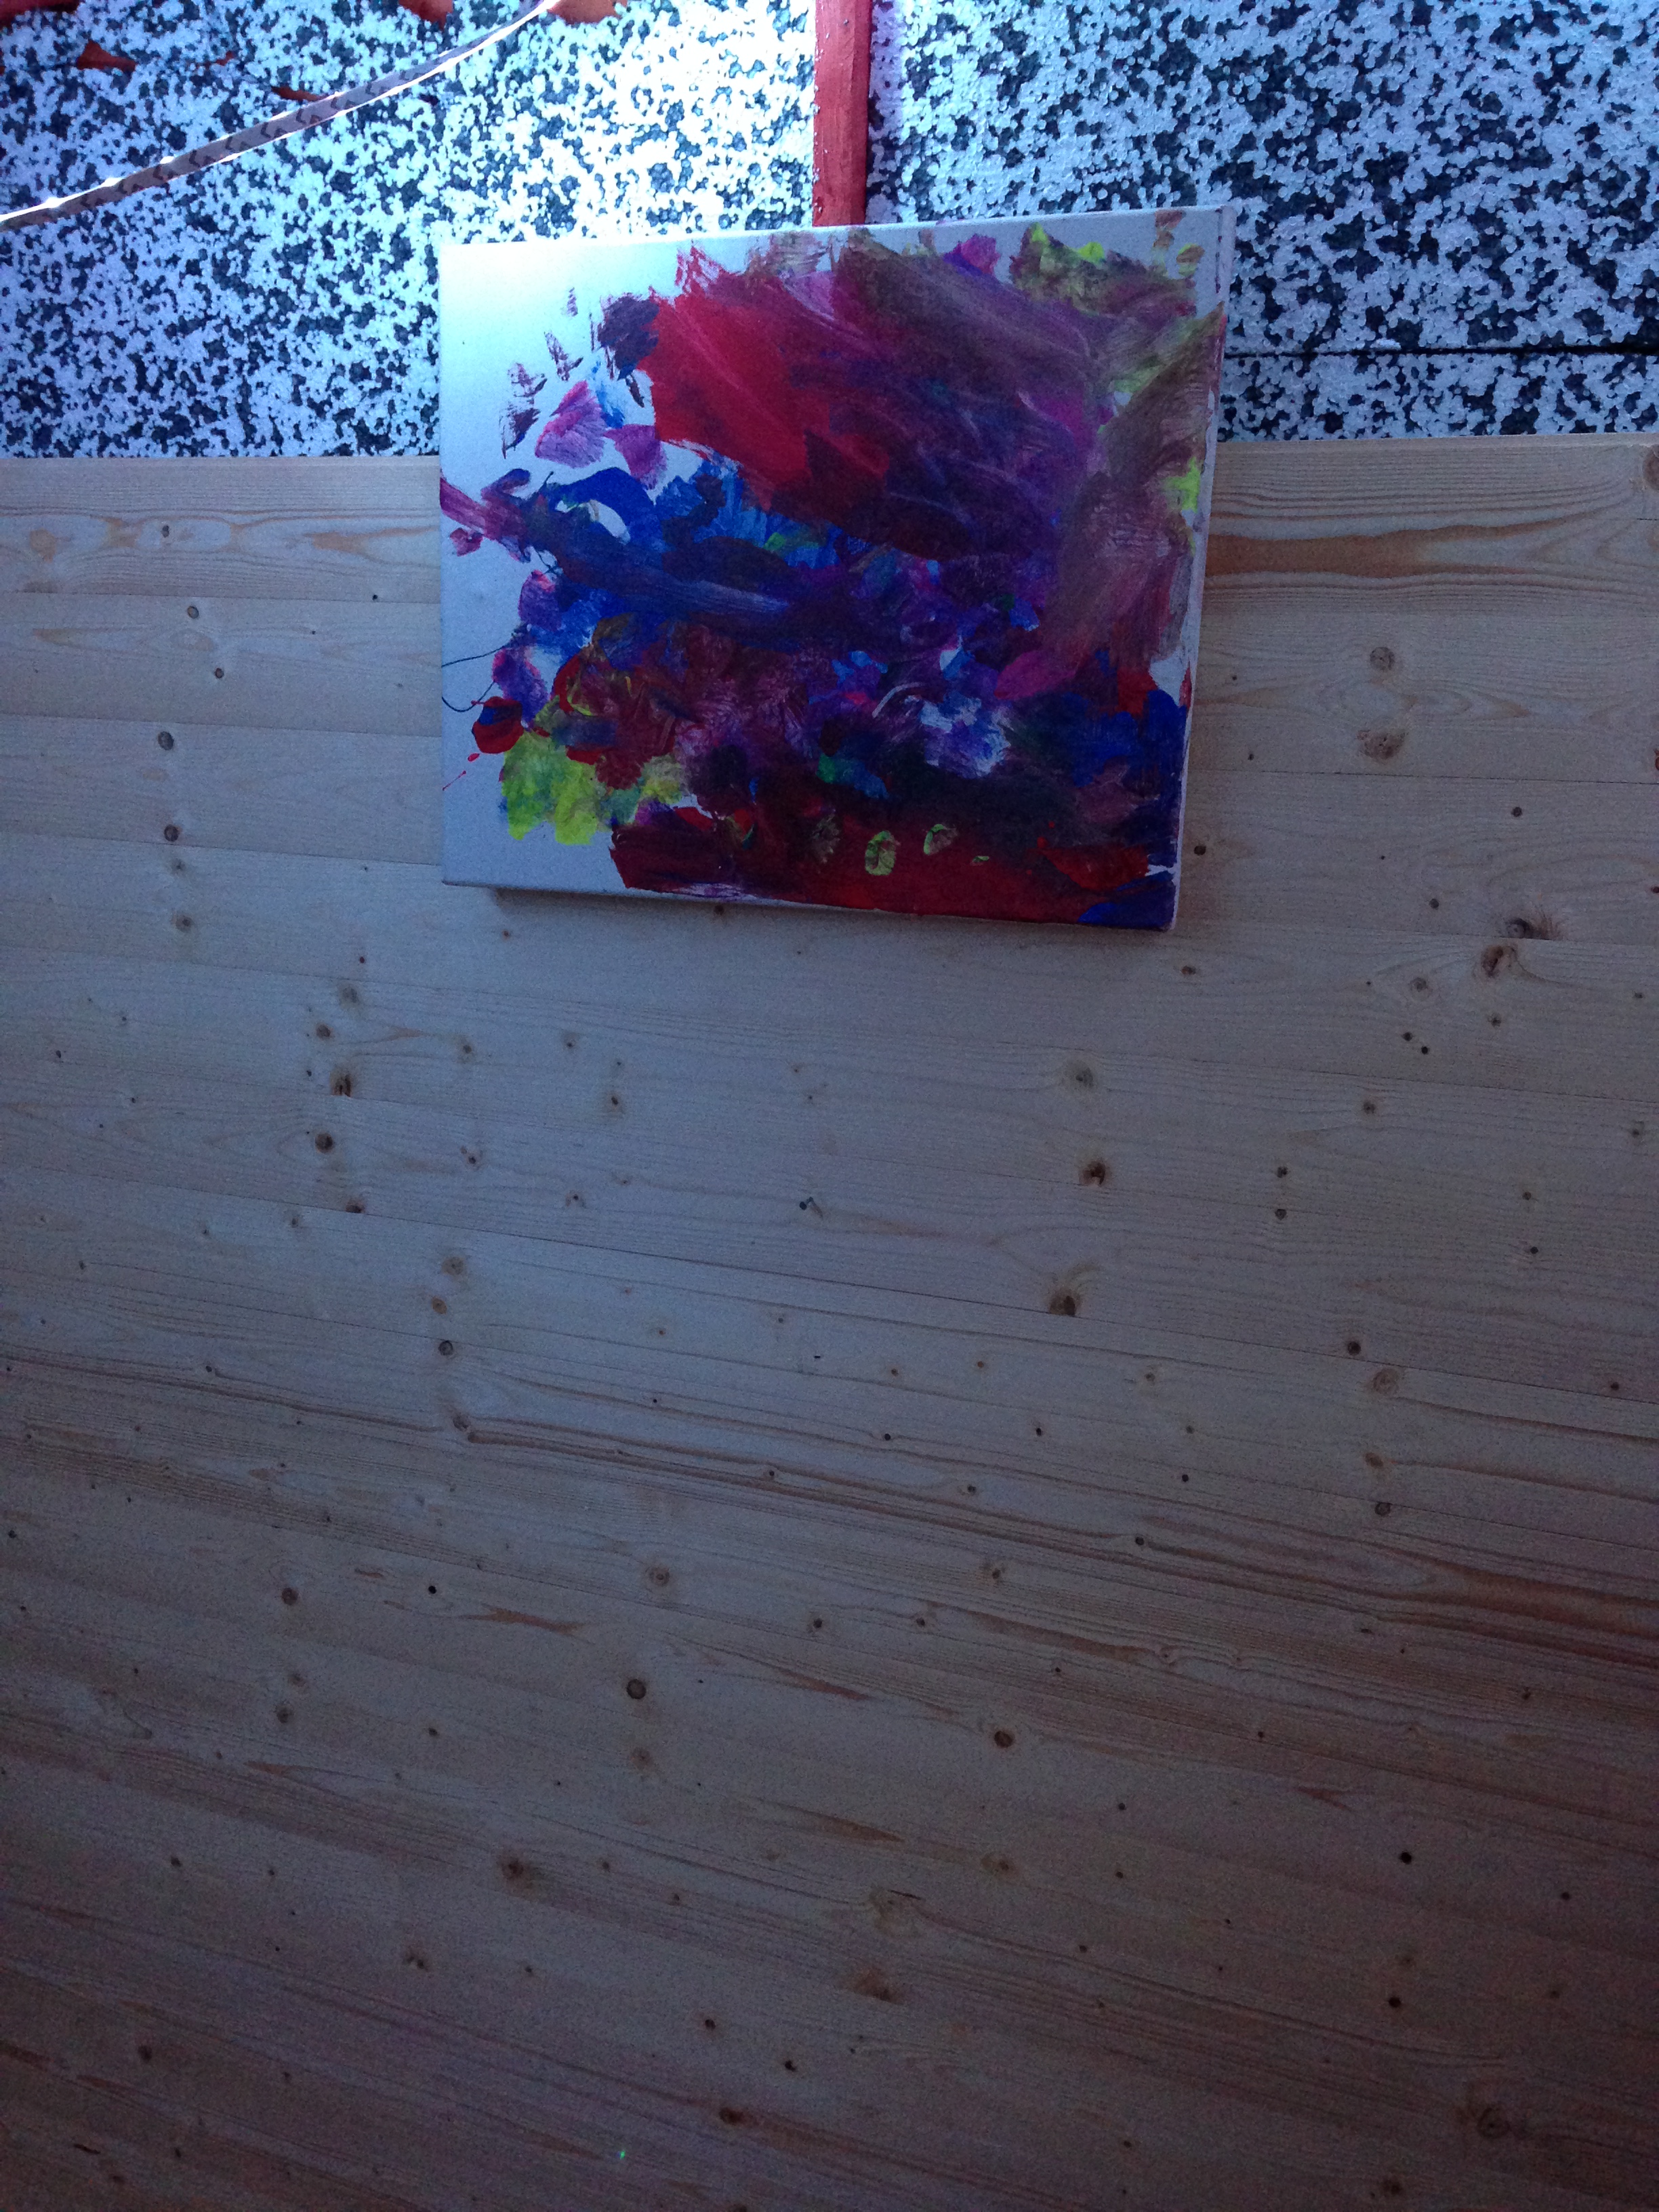
I gradually added cladding to the inside of the room, mostly when I was bored of work and wanted to do something else for 30 minutes. Most of the walls were relatively simple.
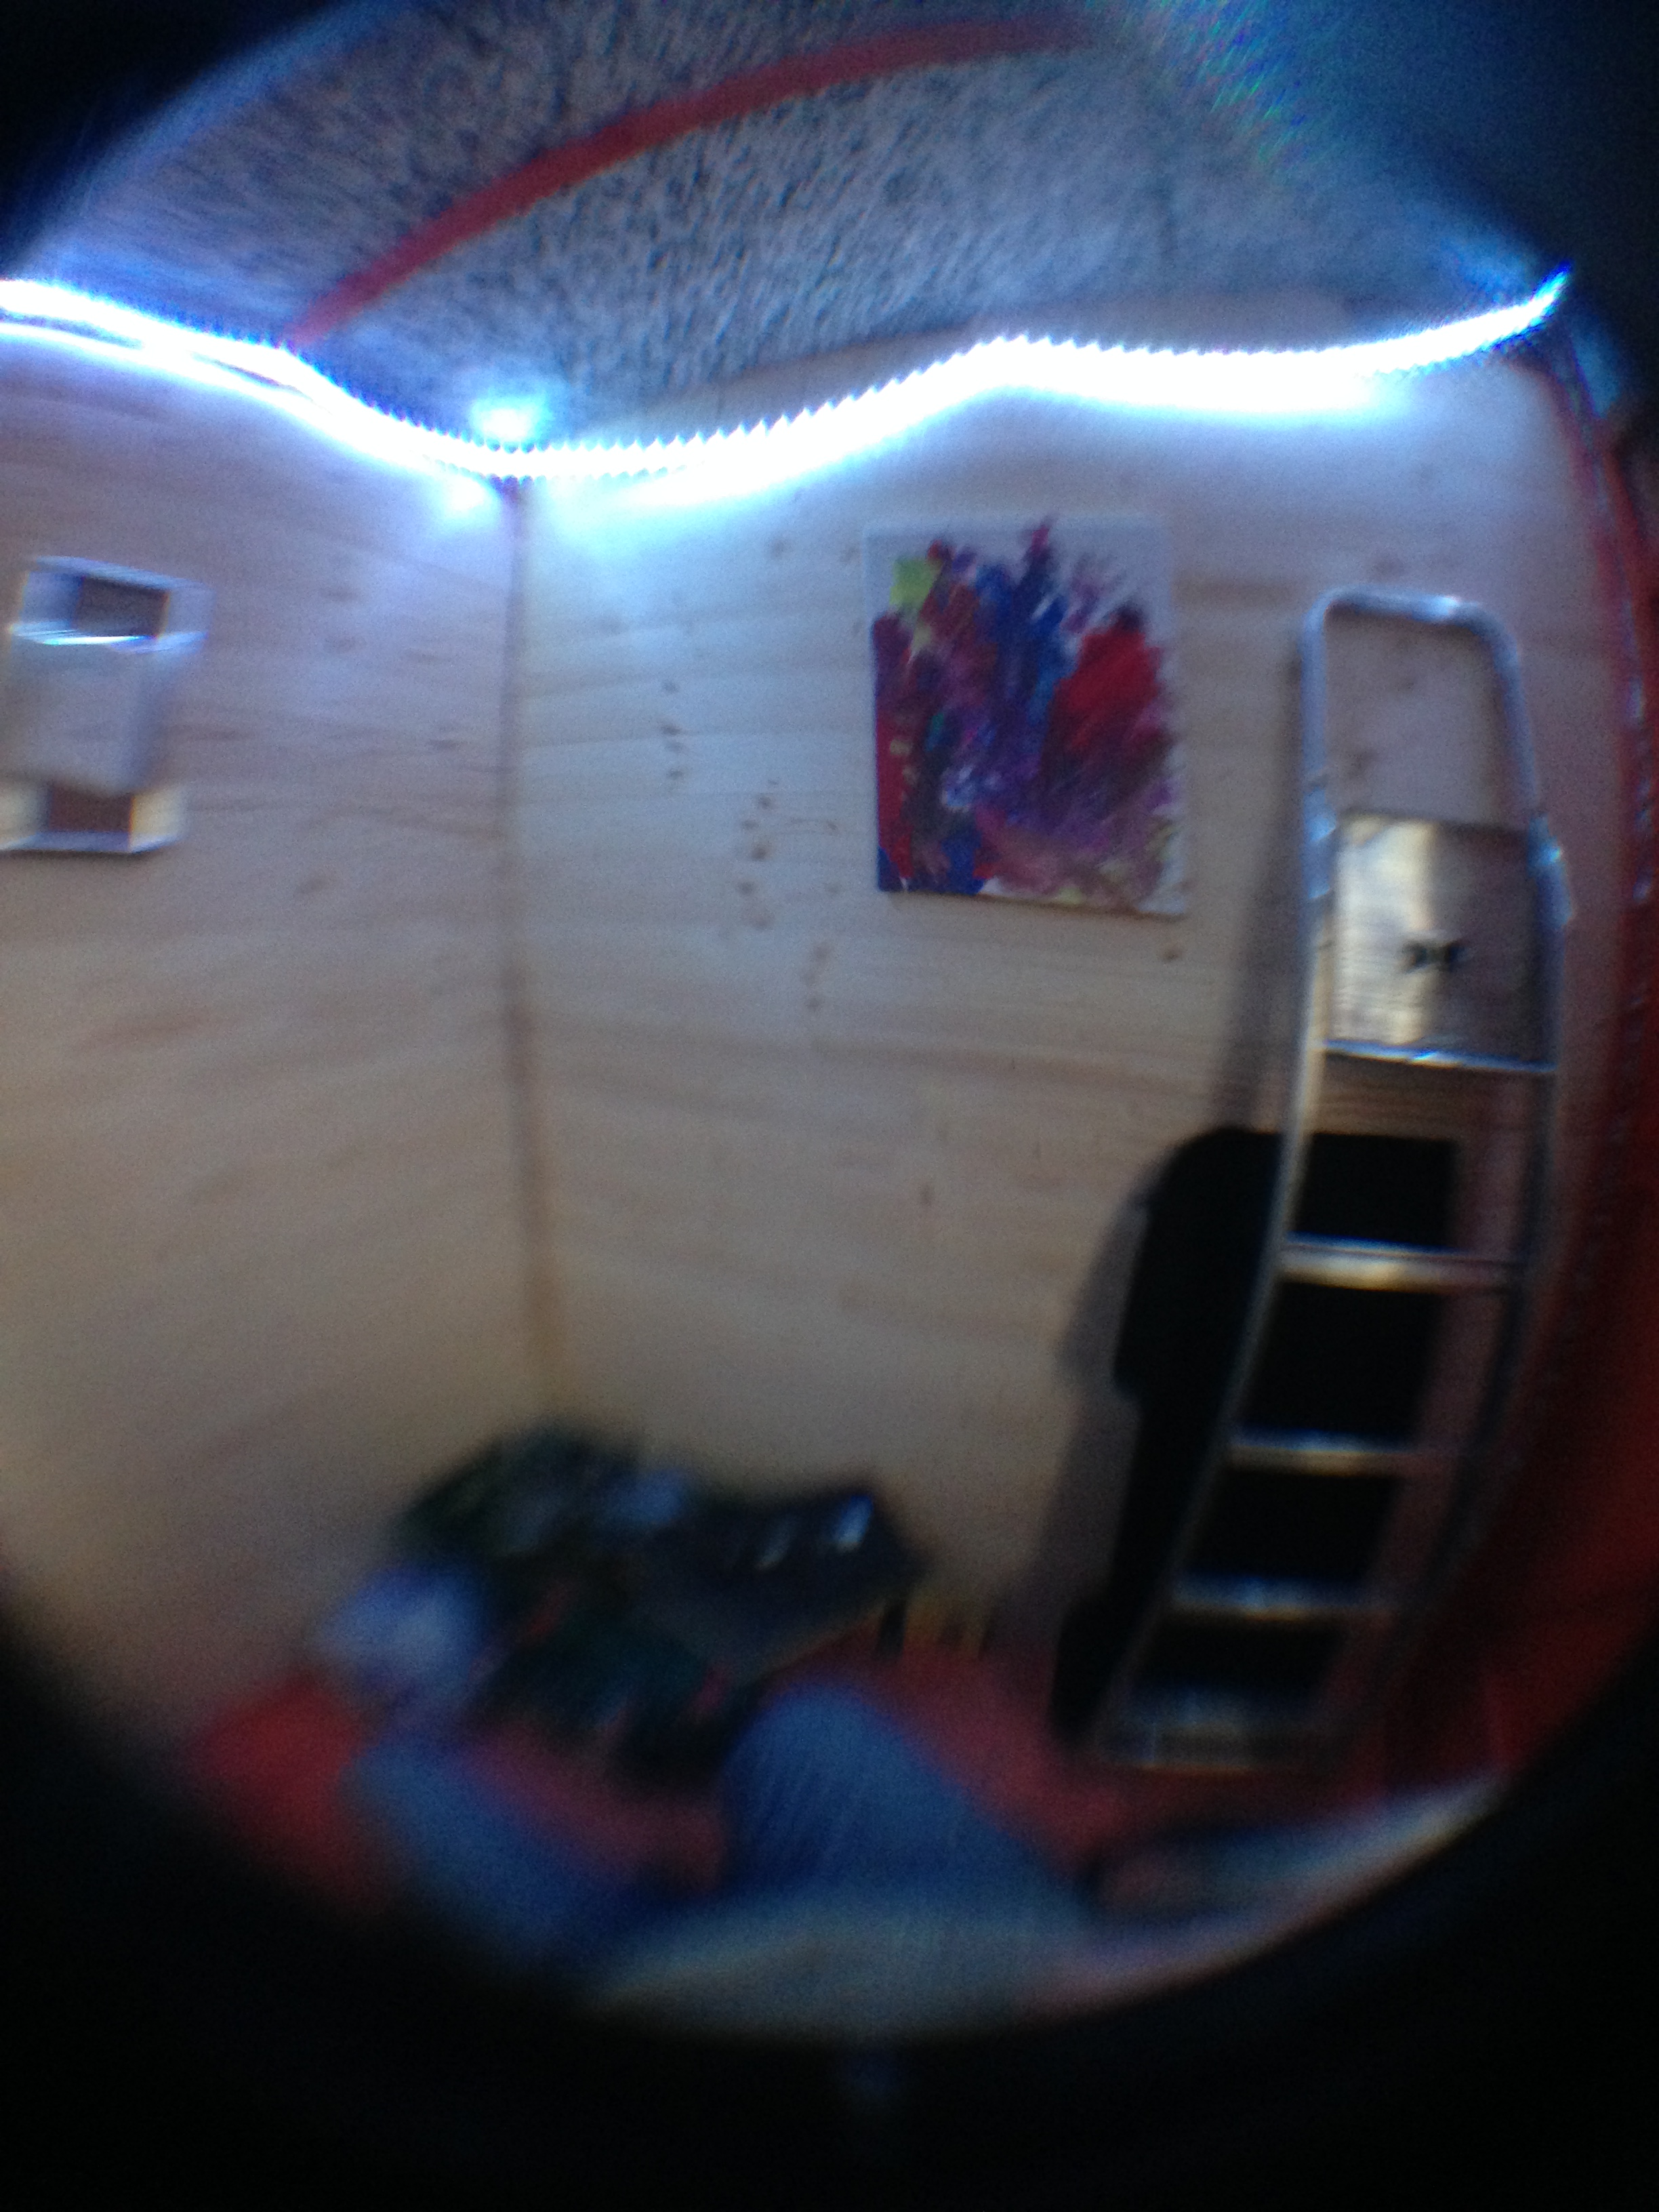
(fish eye lens to make things easier)
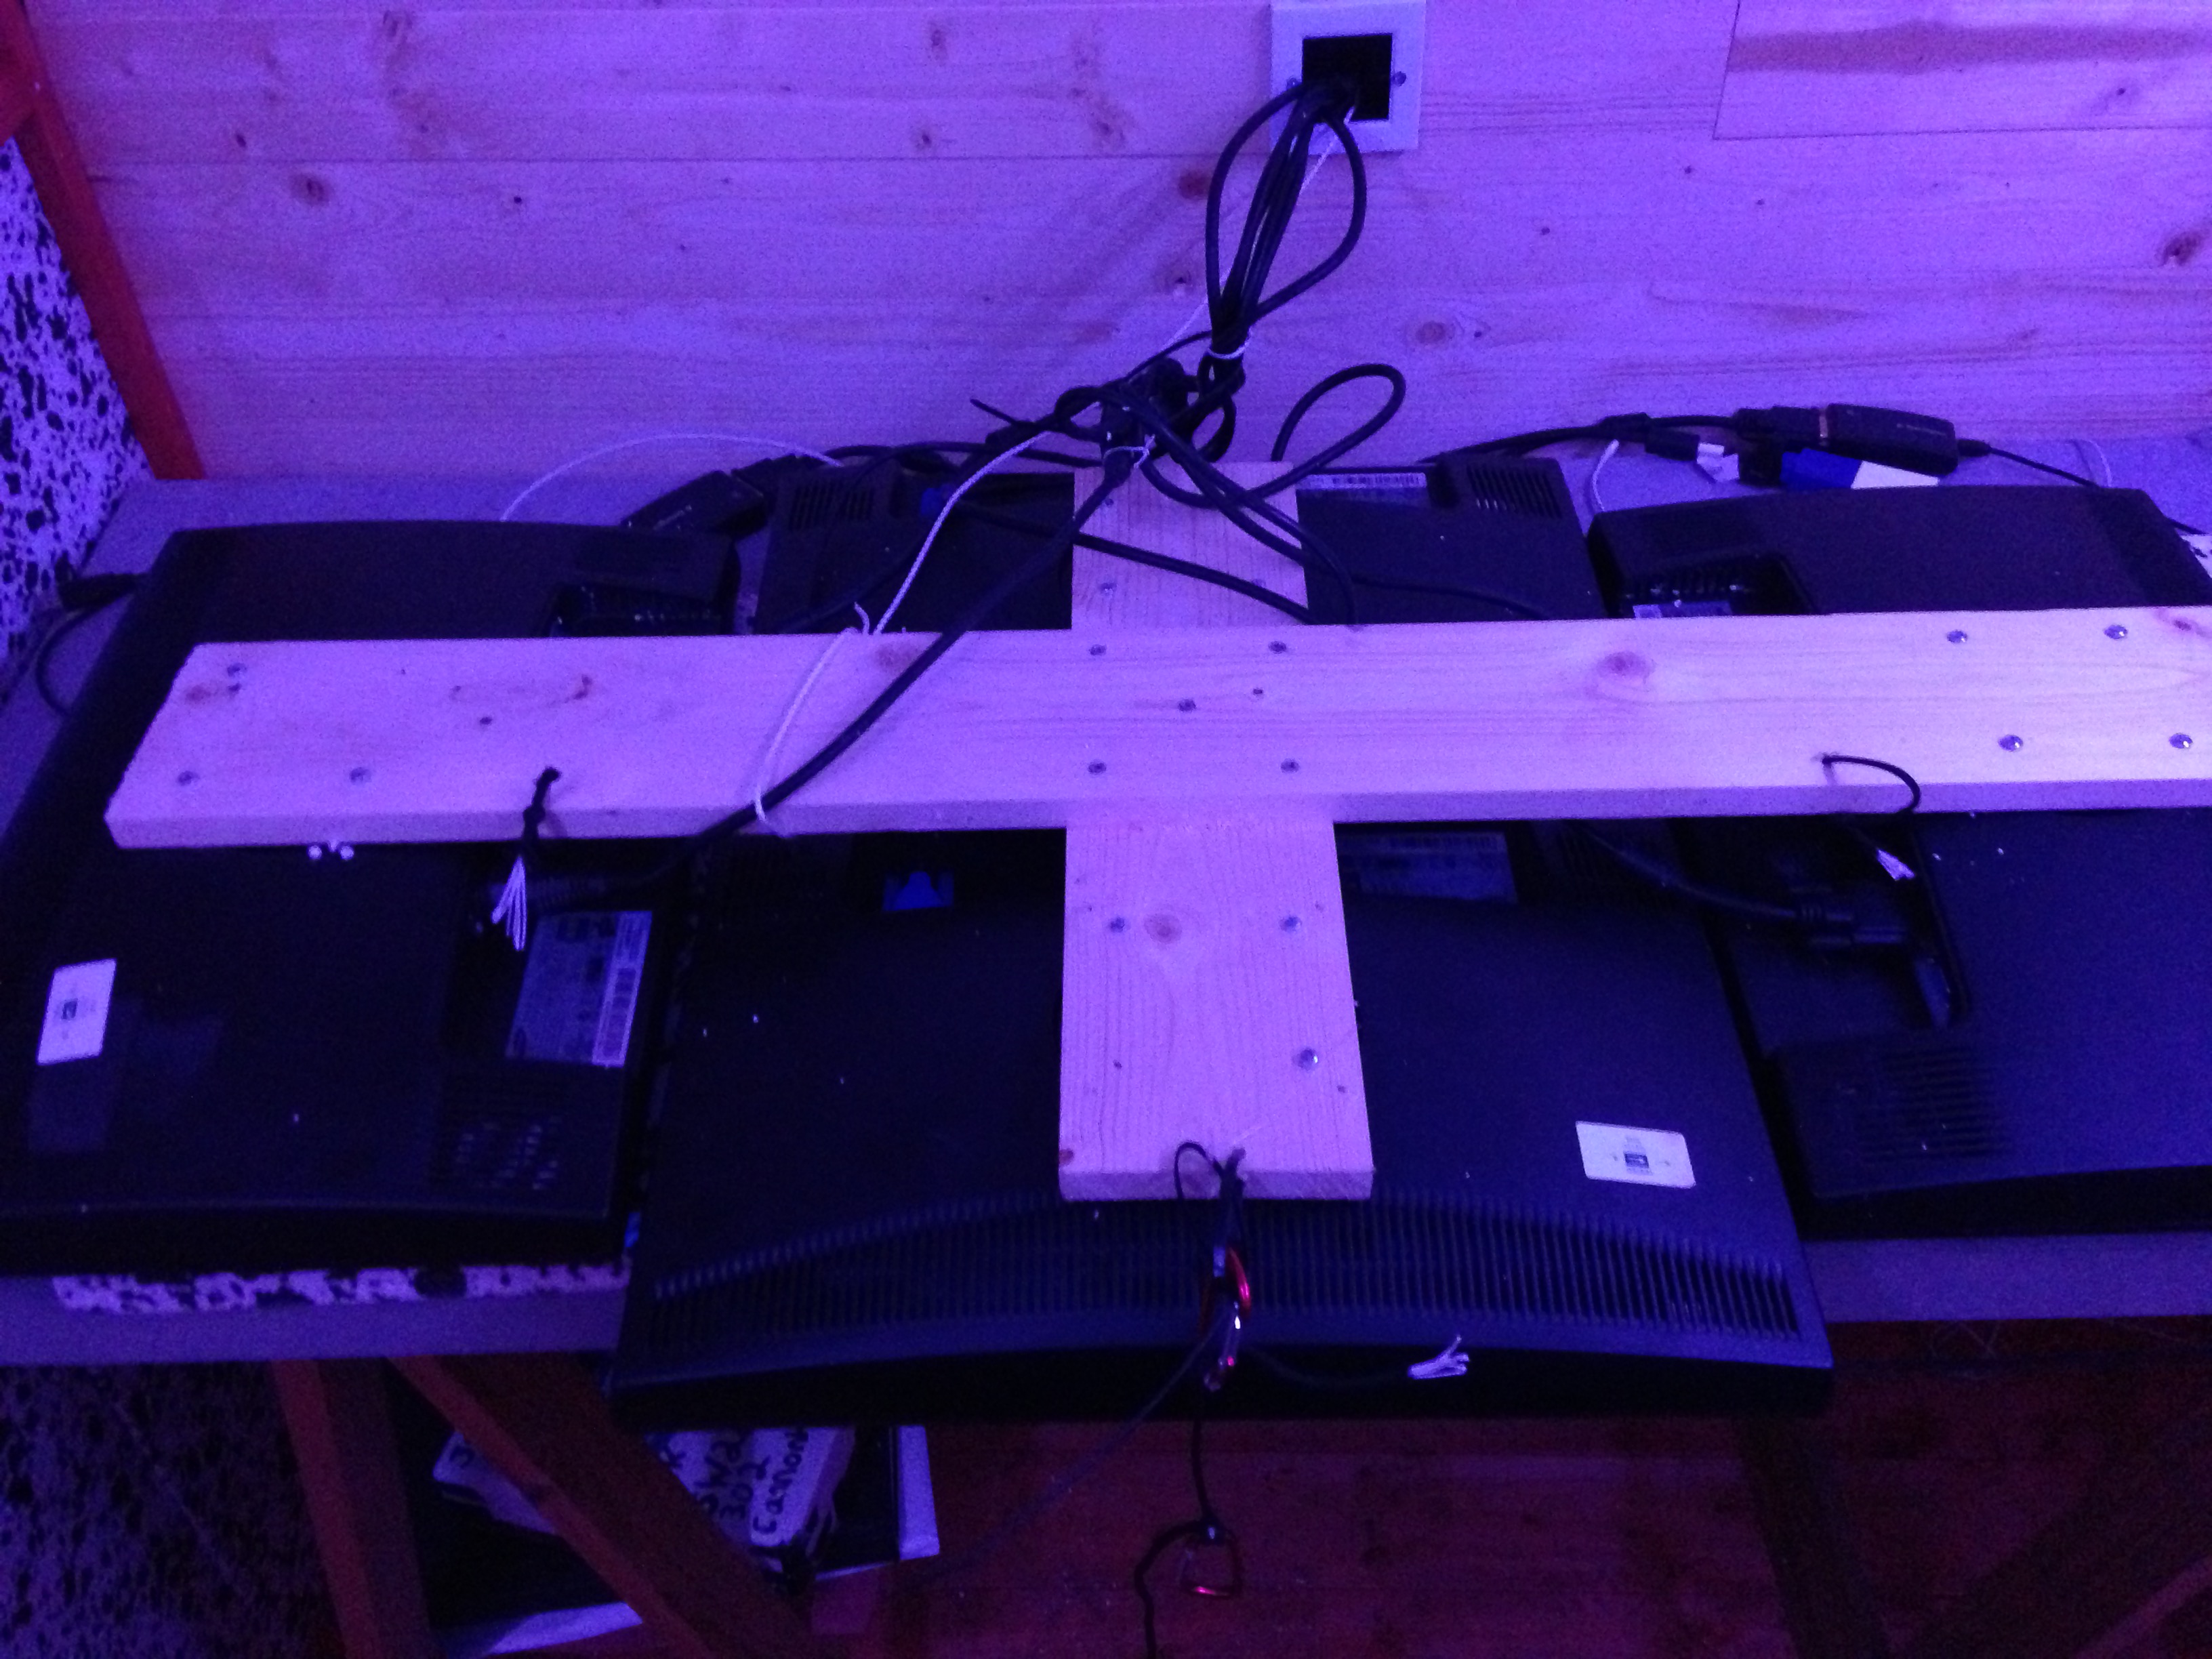
However, I wanted the monitor setup to have it’s cables tided quietly away, which meant running them behind the walls, preferably in a replaceable way.
The solution was a couple of access points from Wicks, one behind the monitors, and one down where the power supply lives.
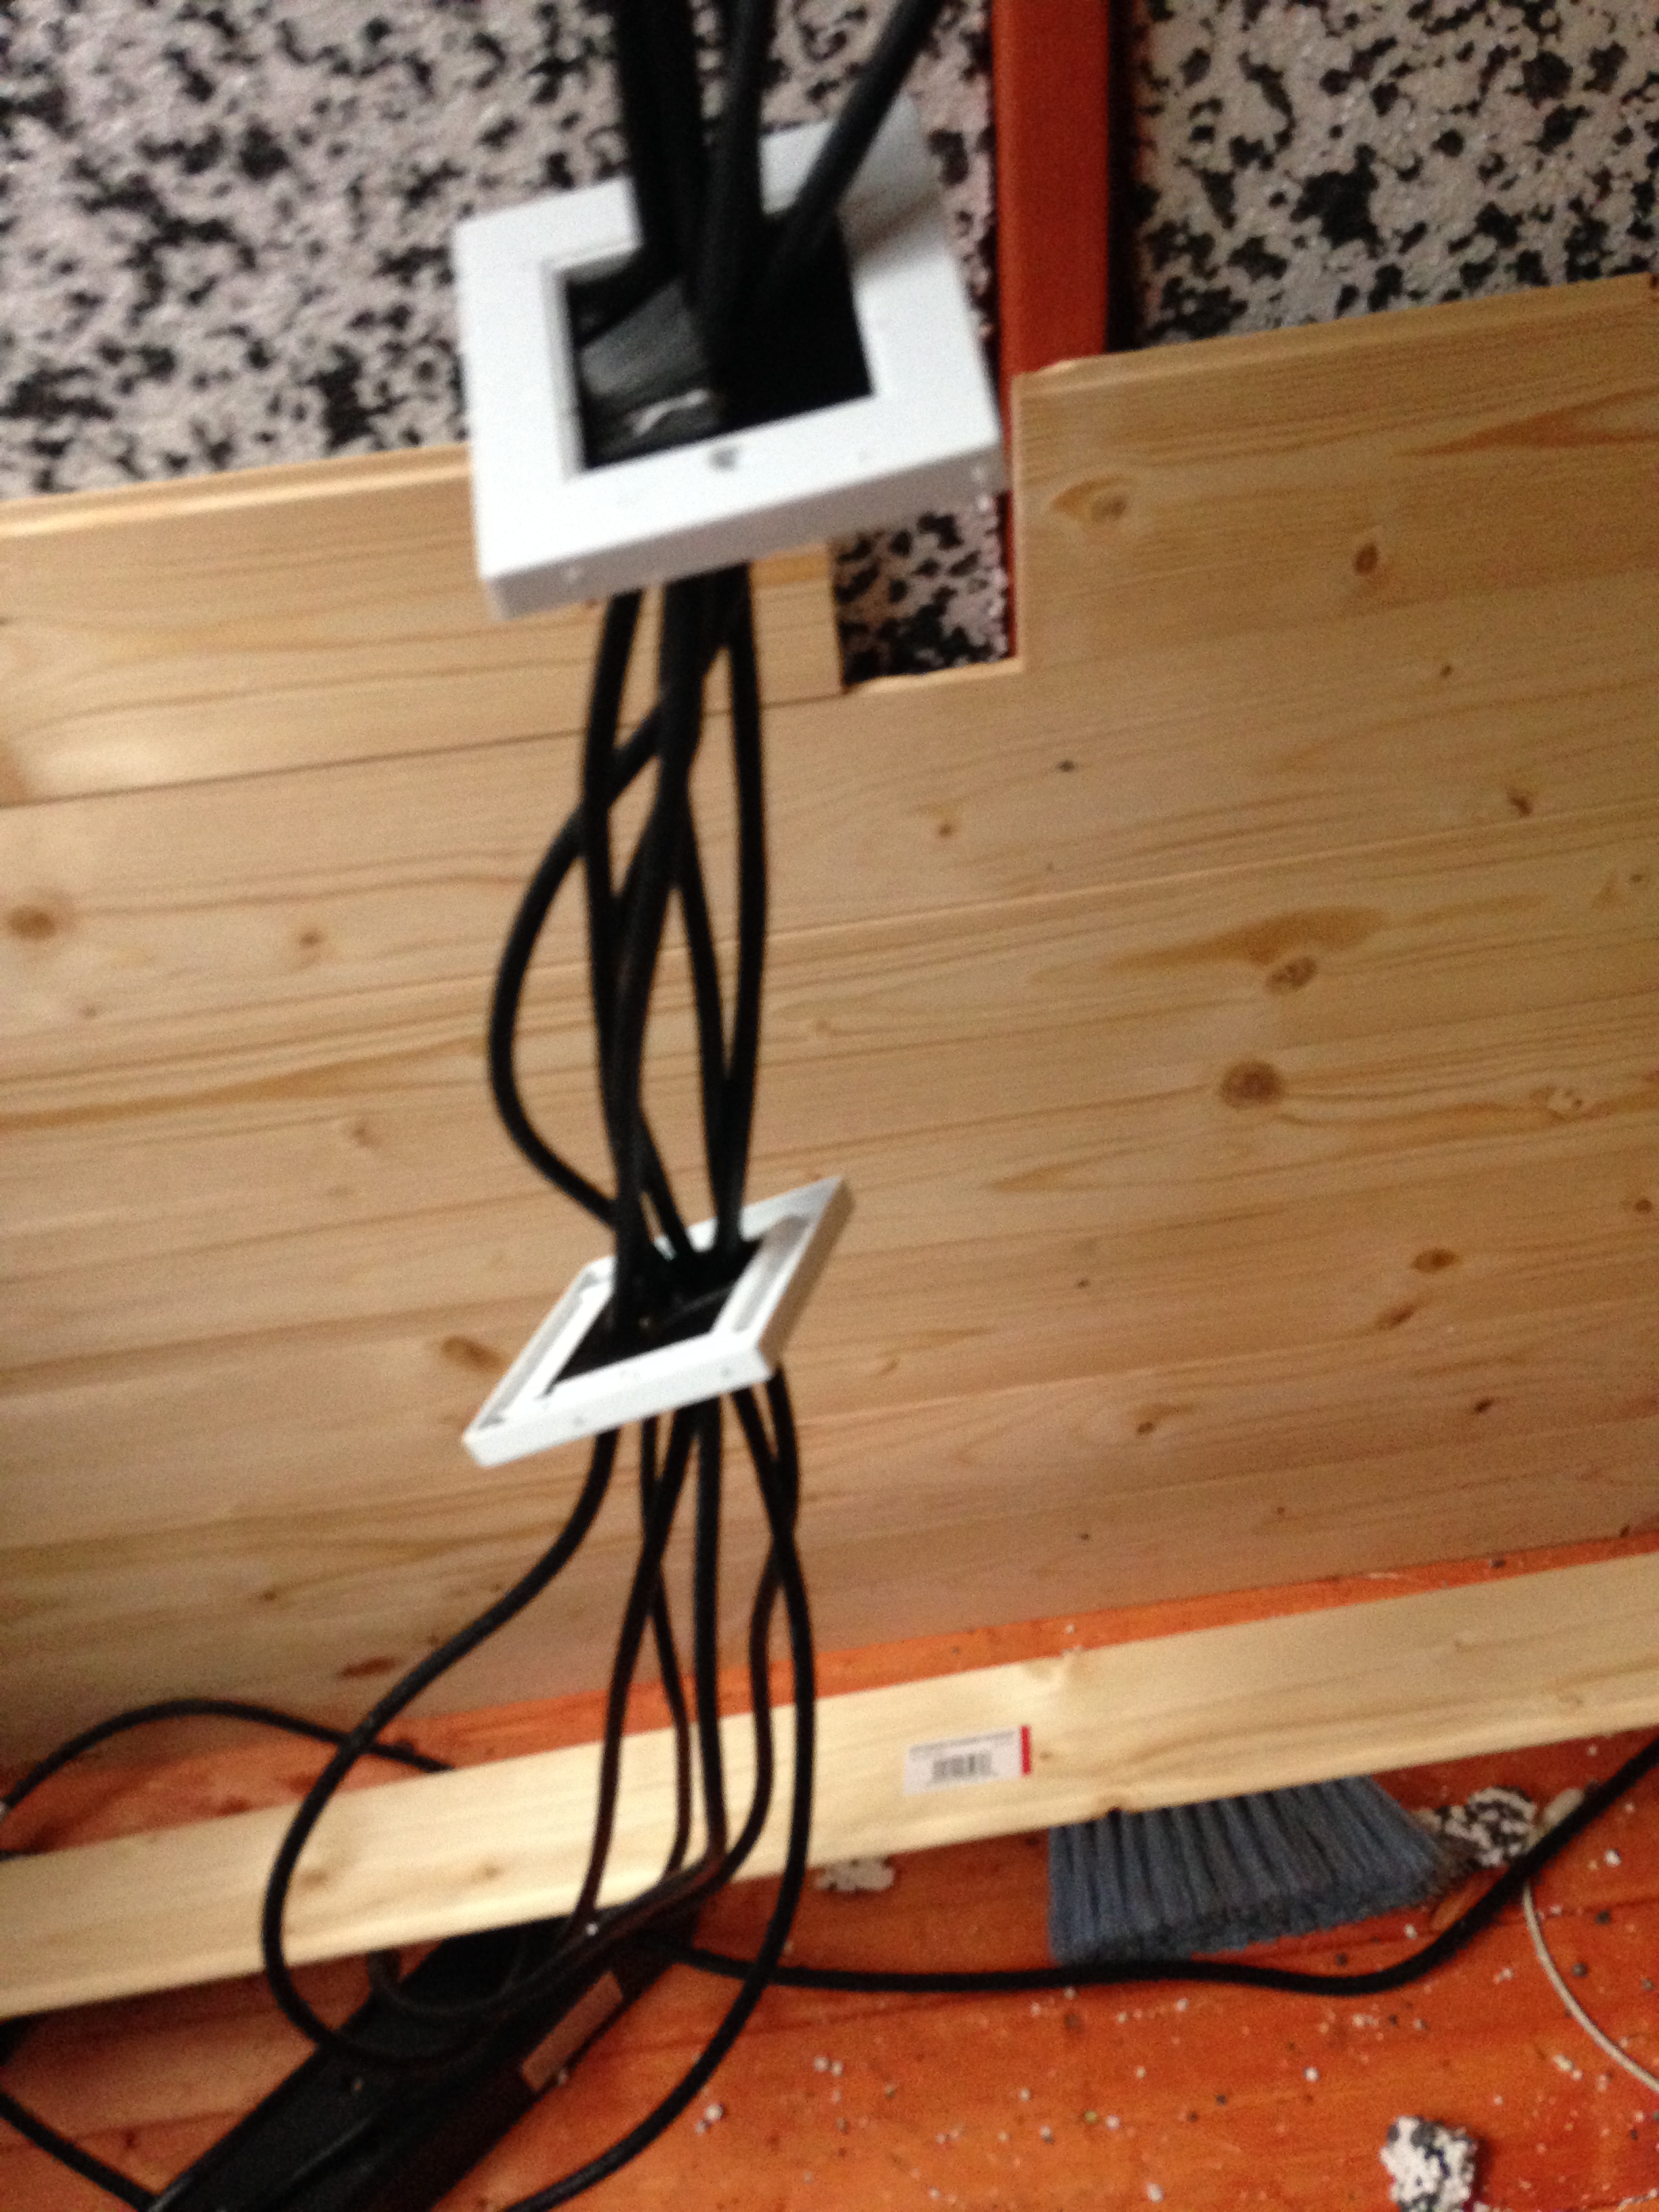
It was definitely worth threading the cables though before putting the points in the wall. To make life easier I’d bought a couple of double headed kettle leads (like these) so that the four monitors only needed two plugs, but there was still a lot of wire to run.

While I was there we also did some tidying of the light cables (the lead that the lights came with was pretty short, so I bought an extension that could sit behind the cladding (this photo is slightly out of sequence, but belongs in the ‘cables and cladding section’).
Stage 4
By this stage I’d been working in the building long enough to have some usability things to change.
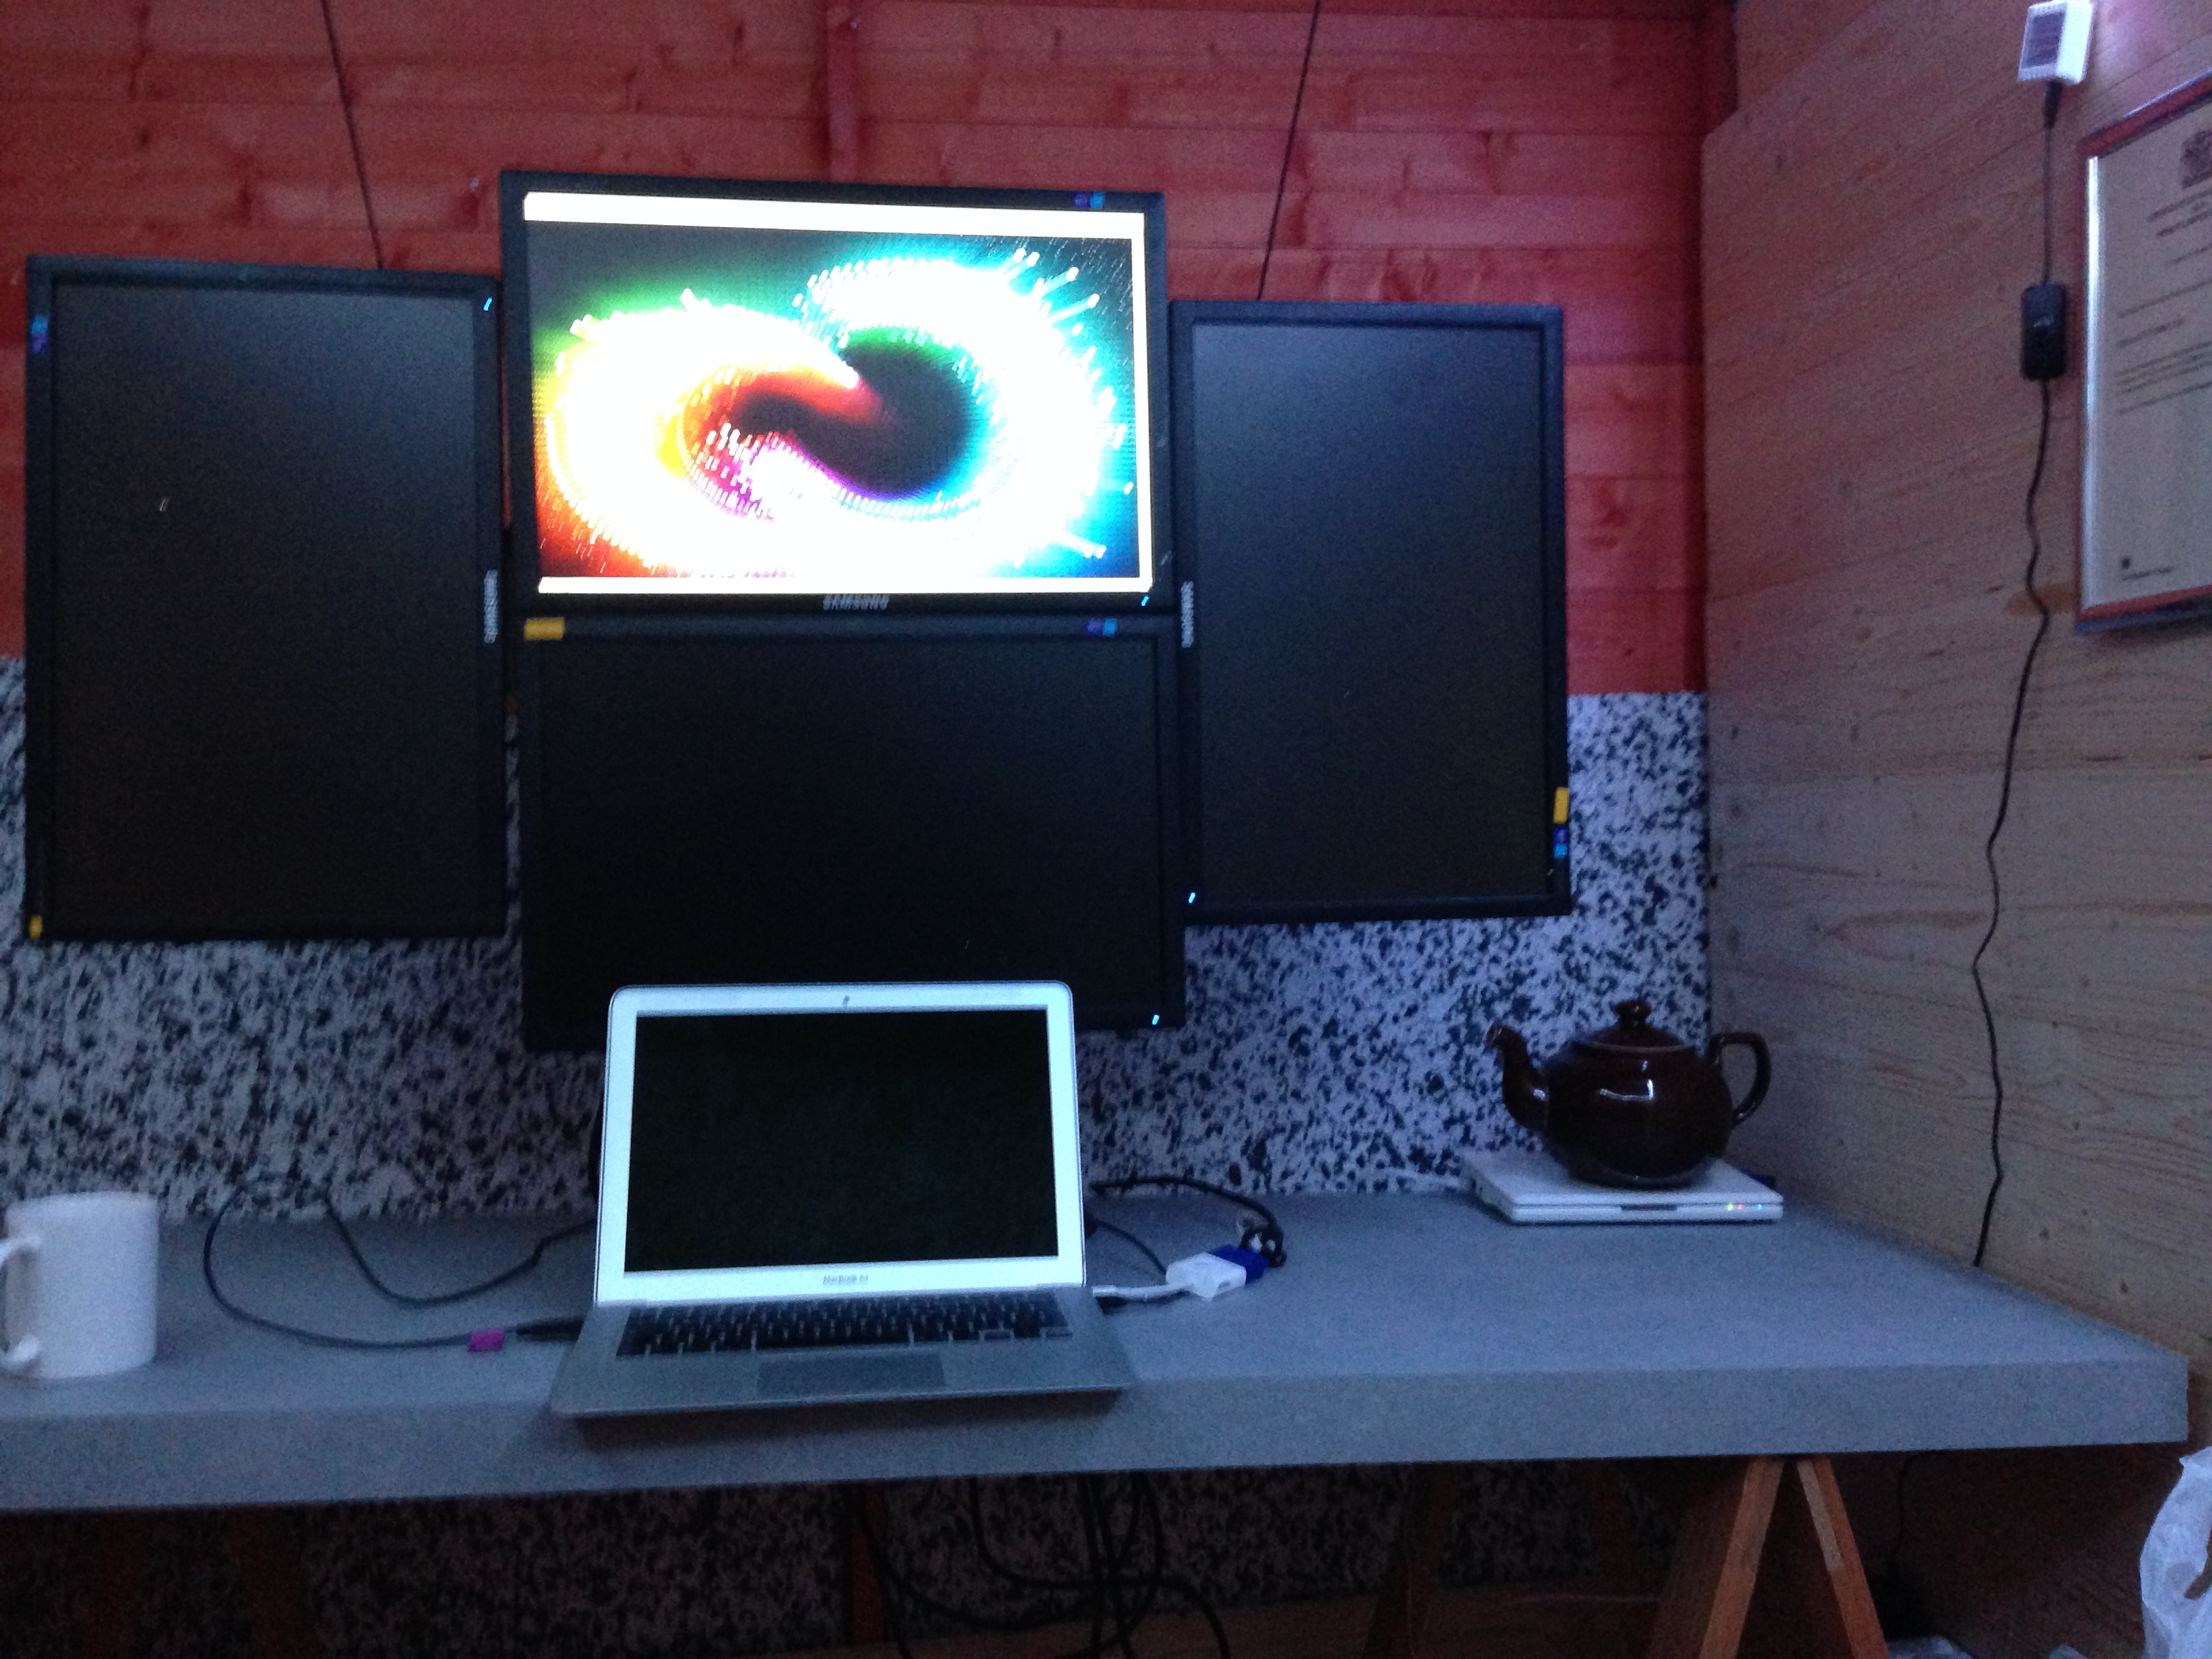
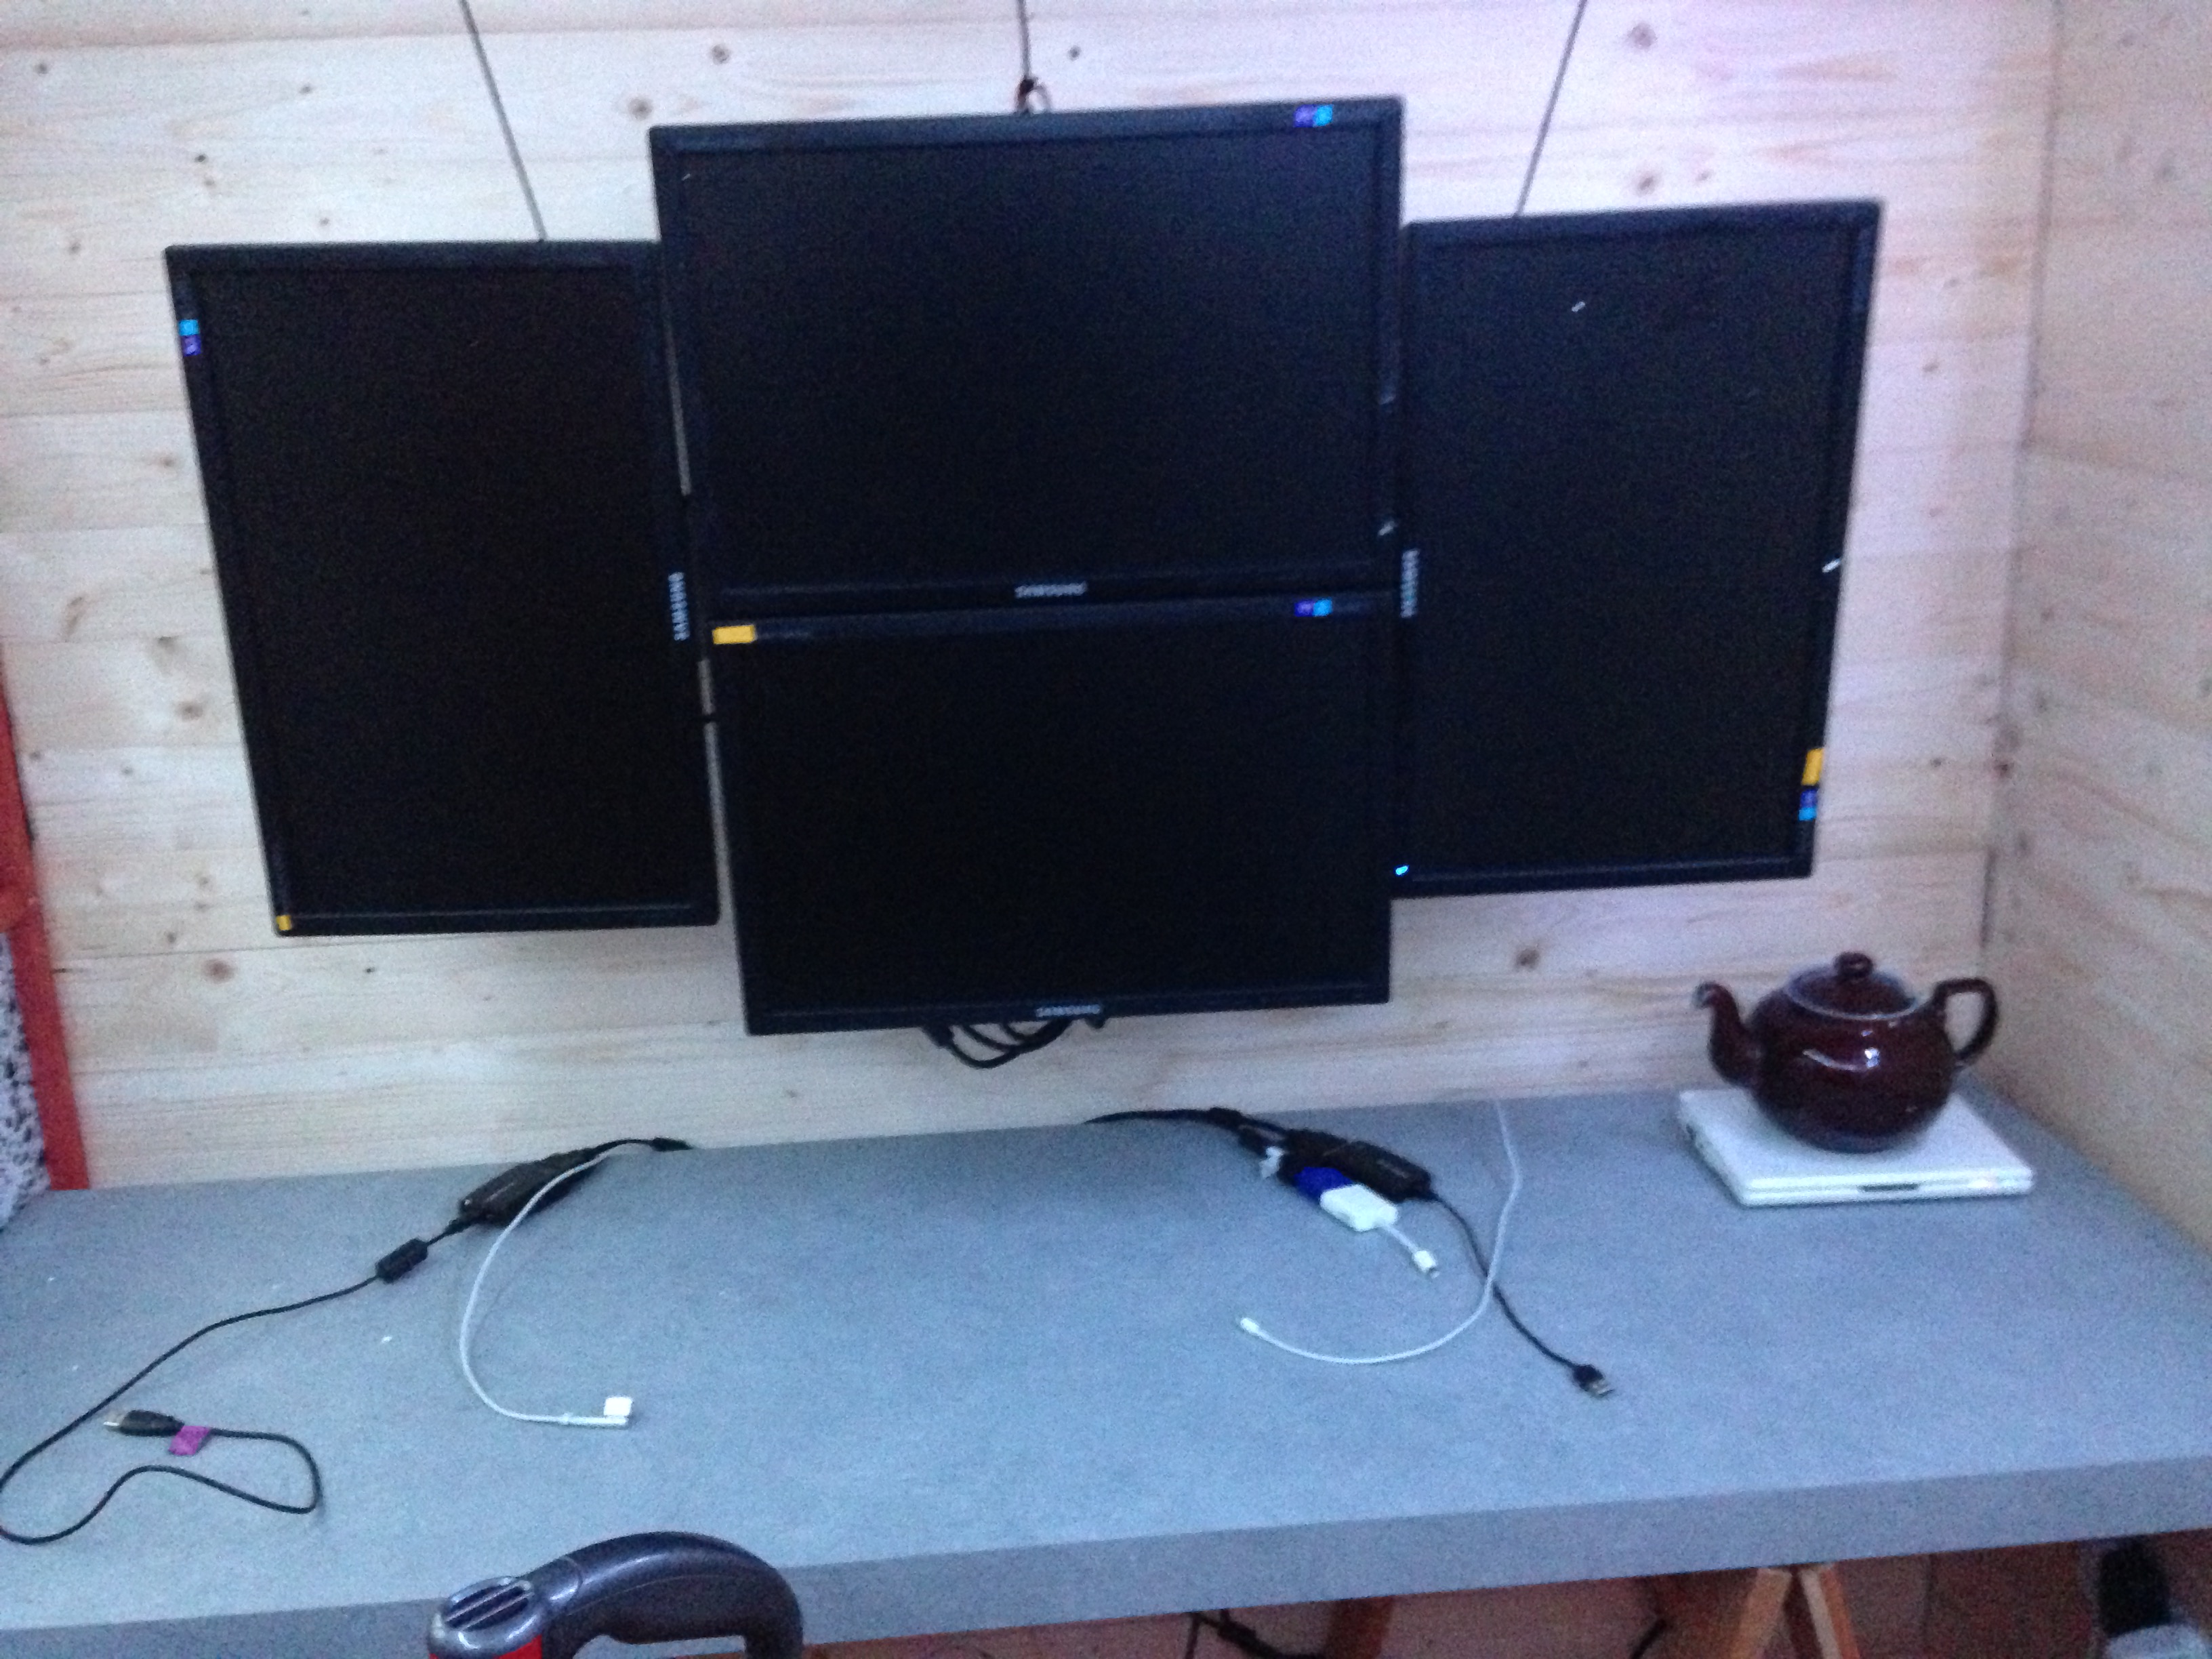
I liked how the monitors looked, but I wanted them to curve around. So I rebuilt the mounting holding them.
I bought a set of large eyelet bolts from eBay and, with the help of my intrepid GF bolted them onto the frame as housing.
It’s difficult to make out on this photo, but you can see the eyelet bolts, along with (on the desk) the attachment from my old monitor rack…
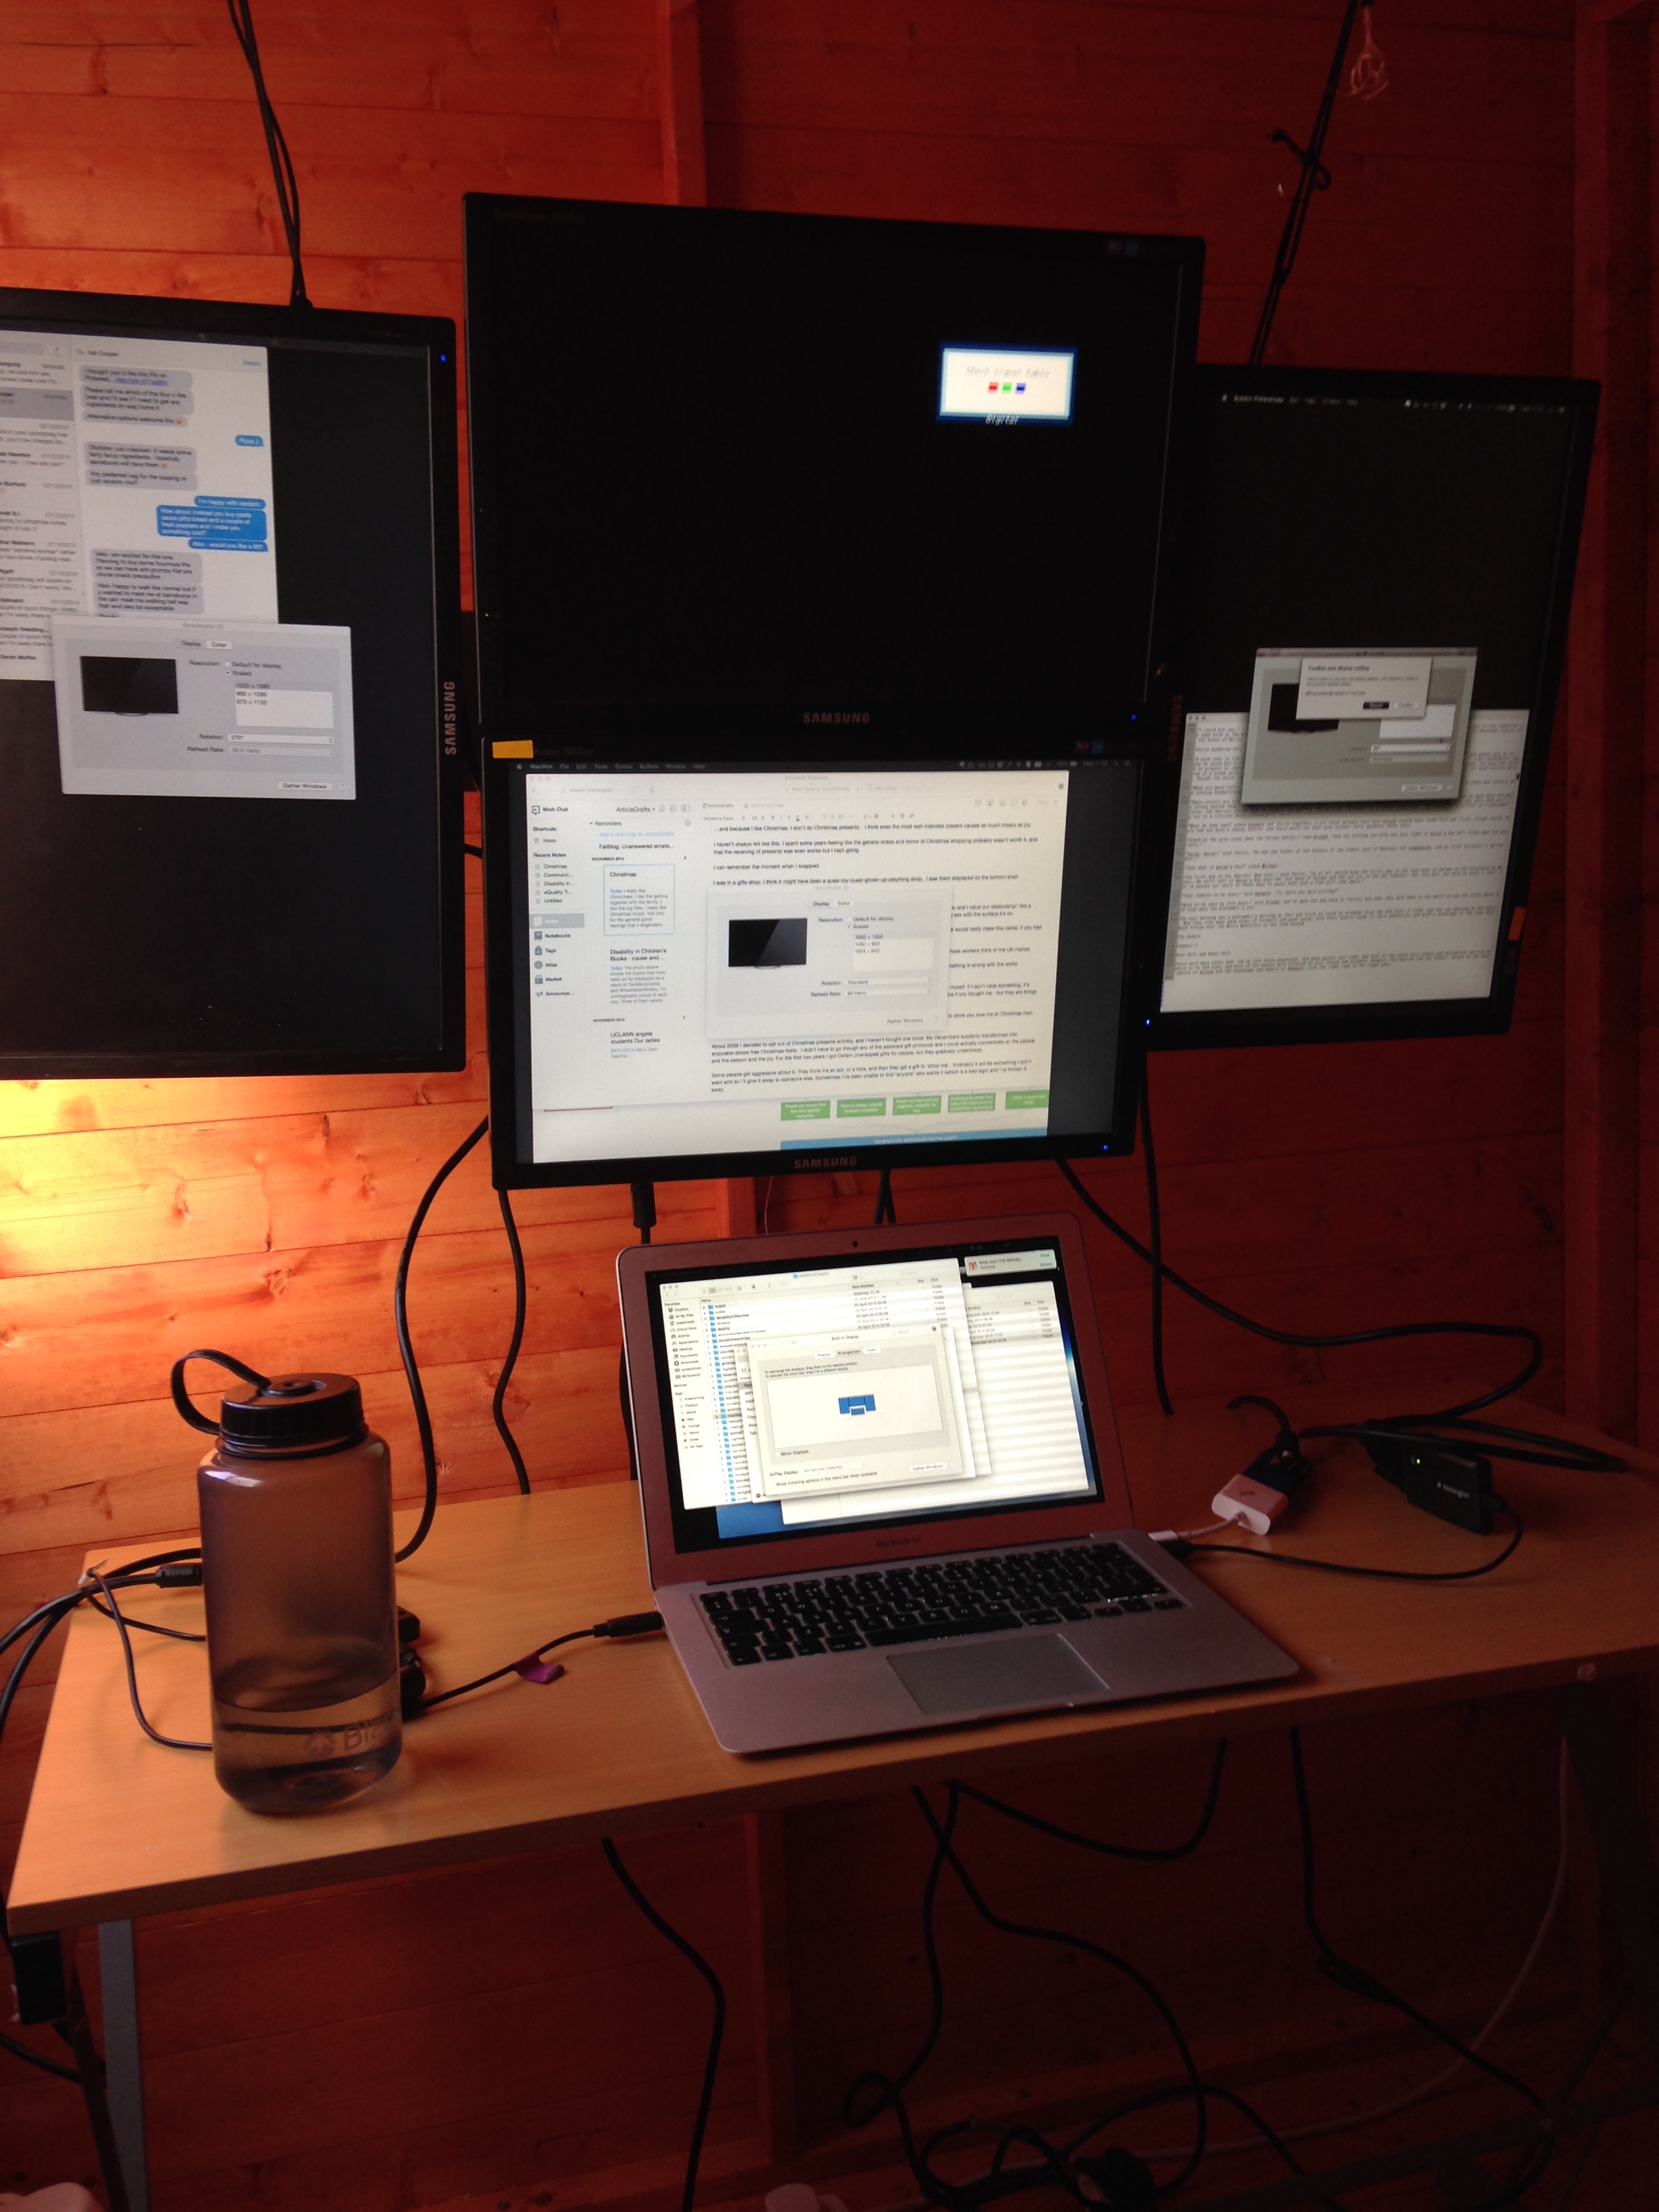
When the monitors finally got got up and together (this was one of the longest stages of the build) the curve is just right for someone sitting at the desk to properly take in all the information.
You’ll also notice that during this I switched out the old black cord for slightly less visible white cord - and I changed the anchor points so that they were anchored more securely. In fact the cords now run over pulleys and are hitched carefully to suitable points in the wall. (The intention was to allow them to raise and lower the stand when I wanted a standing desk, but I never got around to it).
This time round I also remembered to take some panoramic photos so that the progress is a little clearer to see.
Stage 5
The floor was still loosing heat, and wasn’t that comfortable.
My girlfriend owned a wide range of rugs from her travels and kindly donated some of the more hardwearing ones. I’ll spare you the photos of every rug in every position.
Also - the desk is still standing on trestles that I salvaged from the recycling centre months before.
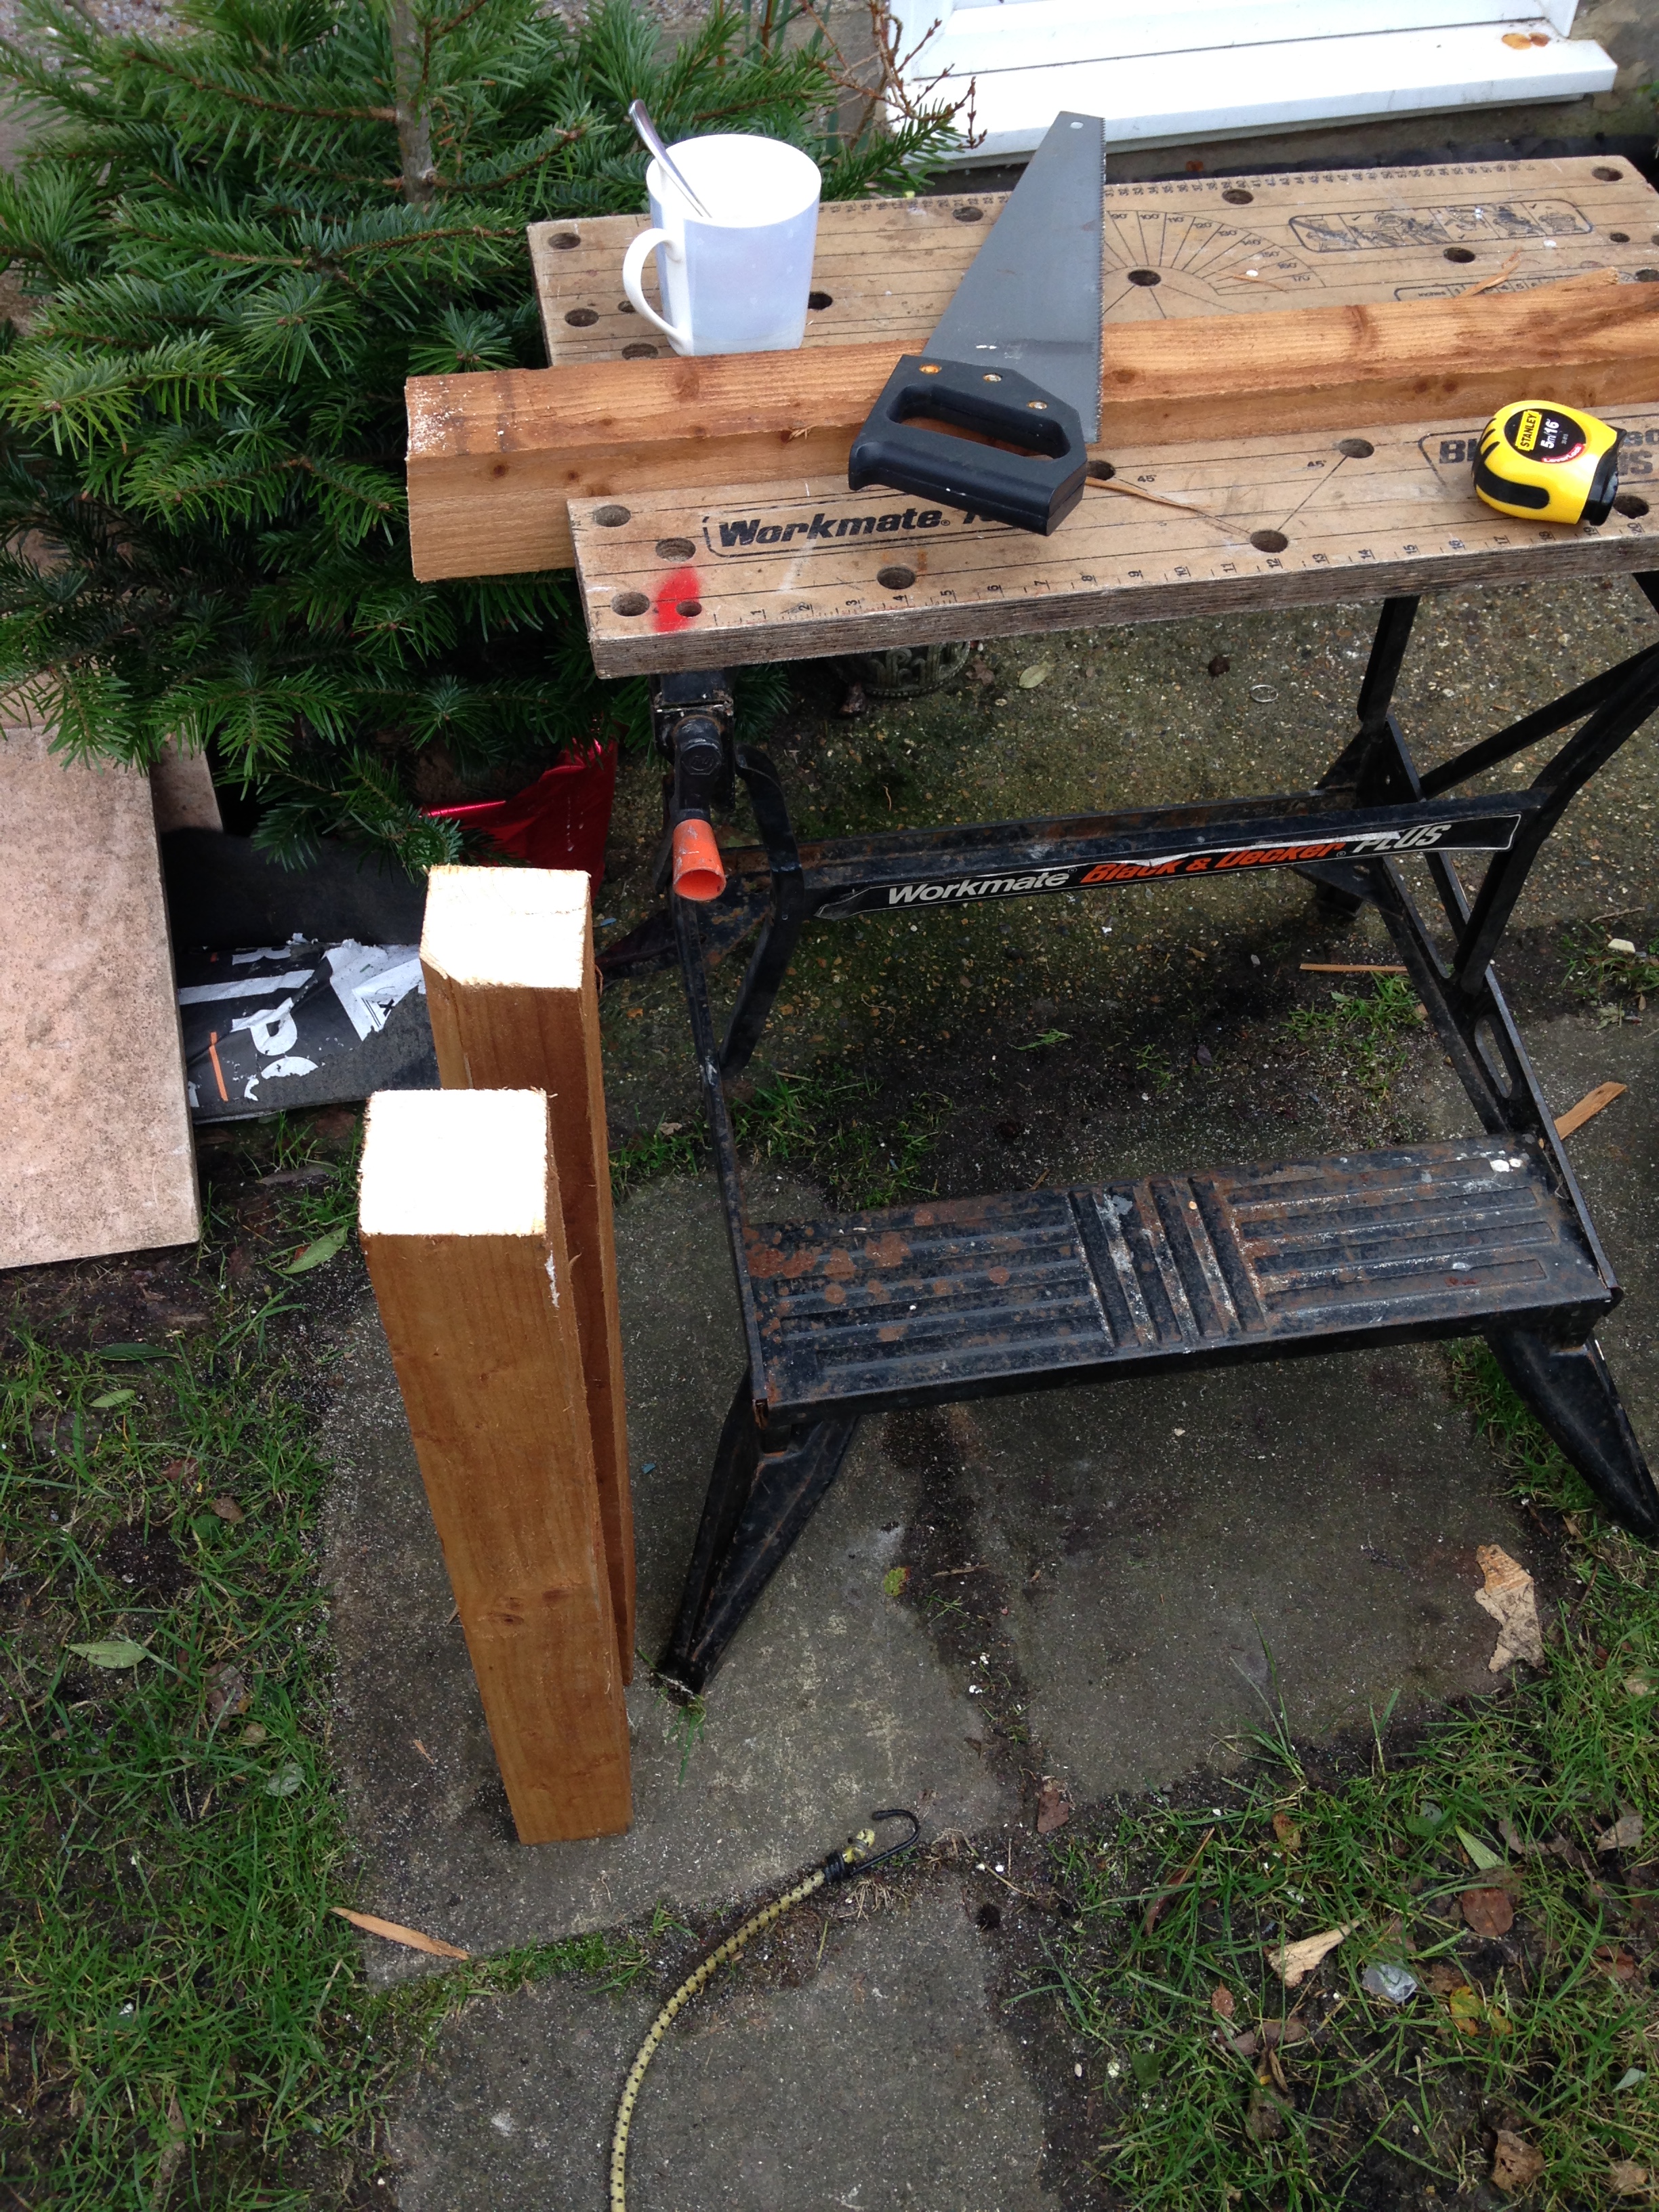
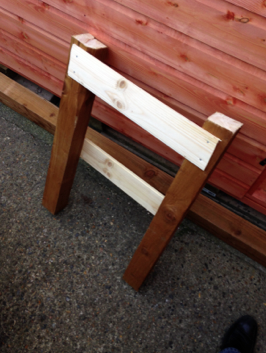
They’ve been mostly out of the way, but I had some spare fence posts from another project so I built some new supports using some of the remaining cladding.
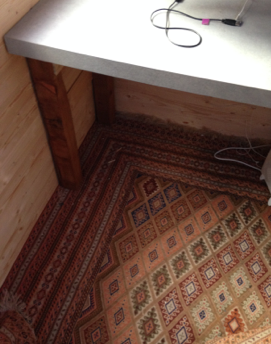
It made a massive difference. The whole side of the desk was suddenly much more free - particularly because the trestles had encouraged me to store stuff on them, under them and near them. I’ve got a lot more space to play with (full view below).
Missing
There’s lots missing from this post that I would put in if I ever found the pictures:
- The shed is resting on a set of fence posts - it wasn’t originally, I raised the shed after I found how much it creaked and shifted in the wind.
- It got painted, twice.
- There’s a secret trapdoor in the floor for storage
- It’s ‘fairly’ secure - I swapped the window for a large sheet of thick perspex and put it in with coaching bolts (I replaced the door hinge screws with coaching bolts as well, and upgraded the outside lock)